


SUBSCRIBE
Get on the list and let’s become friends. Join our community of like minded women, and get all my latest recipes, finds and personal stories. I’m so happy you’re here.
How to paint your front door
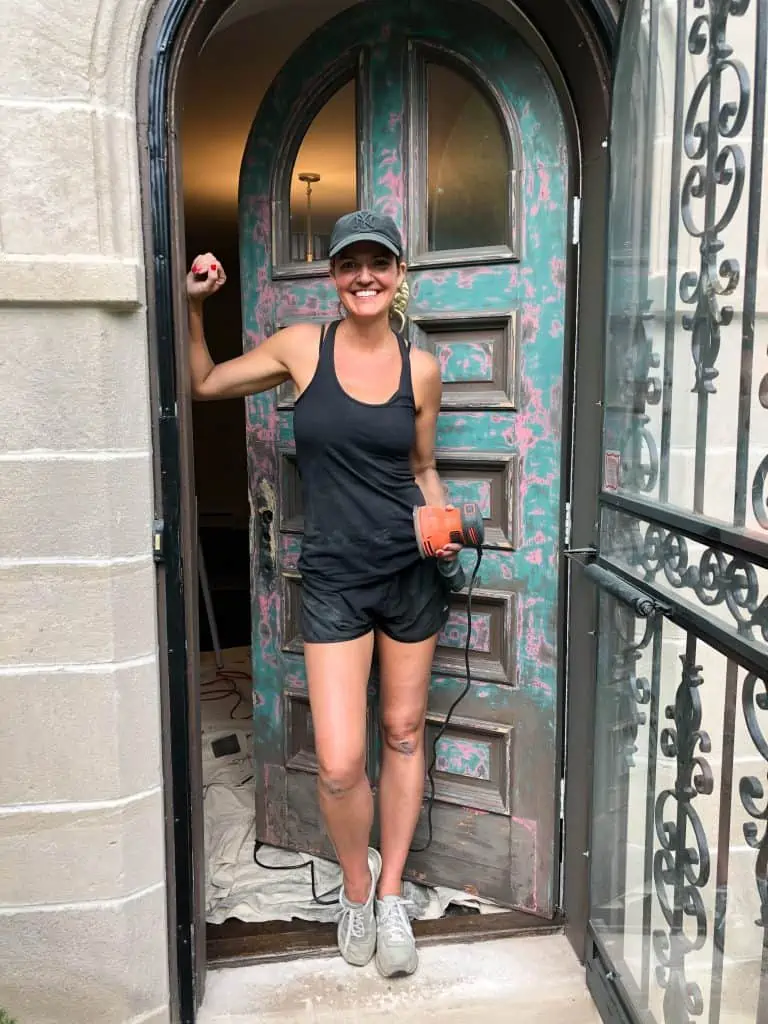
I could not be more excited about this post about how to paint your front door, or this project. I live for a good DIY. I’m a girl who loves to get her hands dirty. Put me in the kitchen with some dough, out in the garden with my hands in the soil, or my house with a can of paint – and I am one happy lady. Sure I love wearing heels and a fancy dress, but I’m equally excited for an excuse to put on an old baseball cap and sneakers and pick up my sander.
I’ve painted the front doors of our last two homes, but this one has to be my favorite. I’ve painted all of our other doors using acrylic based paints (which worked great), but this time I used Fine Paints of Europe.
I first came across Fine Paints of Europe a few years ago when I started getting into some small DIY projects around our home. I immediately fell in love with their gorgeous bold colors and shine. Fine Paint of Europe is a 100-year-old, high-quality, line of paints (mainly oil-based) that is known for their gorgeous brilliant (almost lacquered) finish. You know a “Fine Paints of Europe” door or piece of furniture when you see it. There truly is nothing else like it.
I’ve known I wanted to use this line of paints for a while, but never felt like I had the right space or project that warranted it – until now.
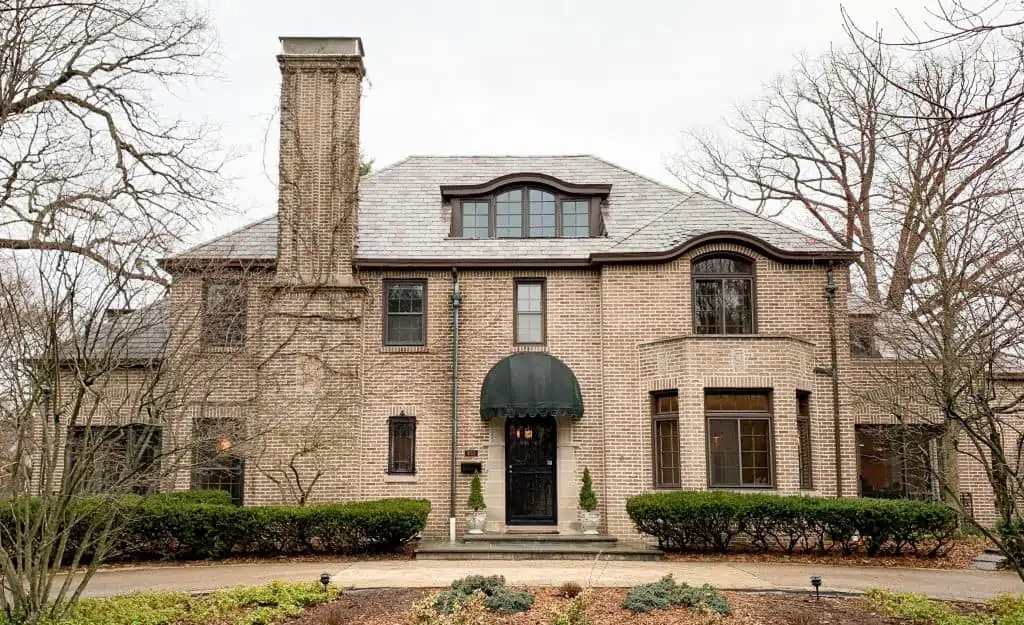
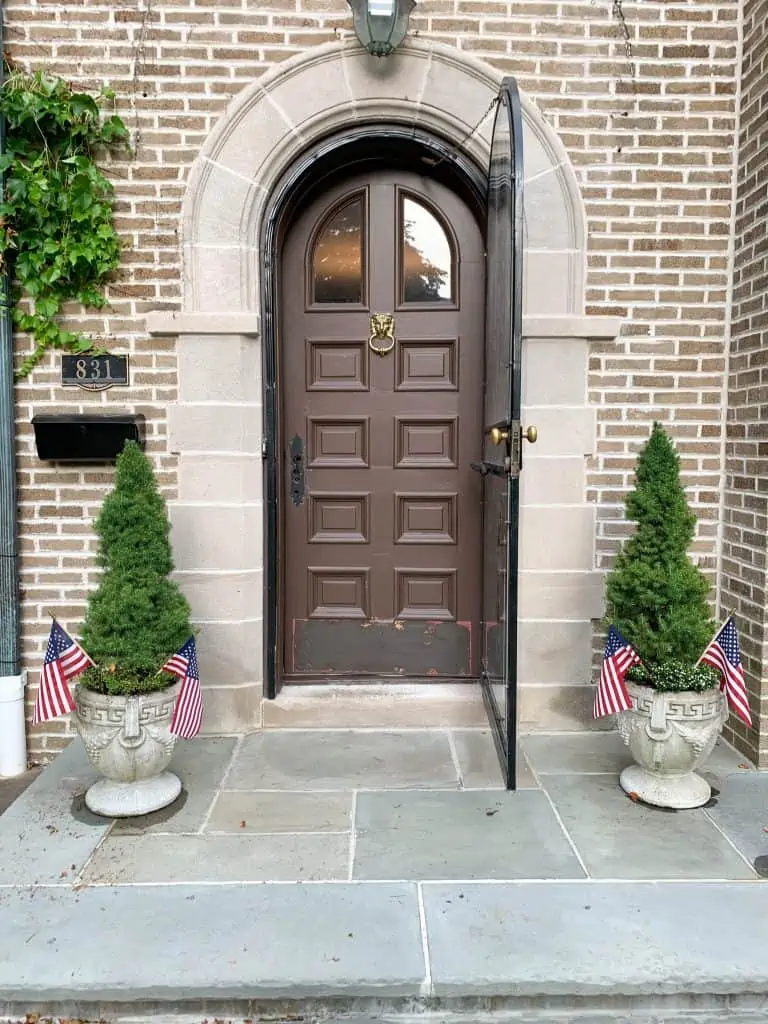
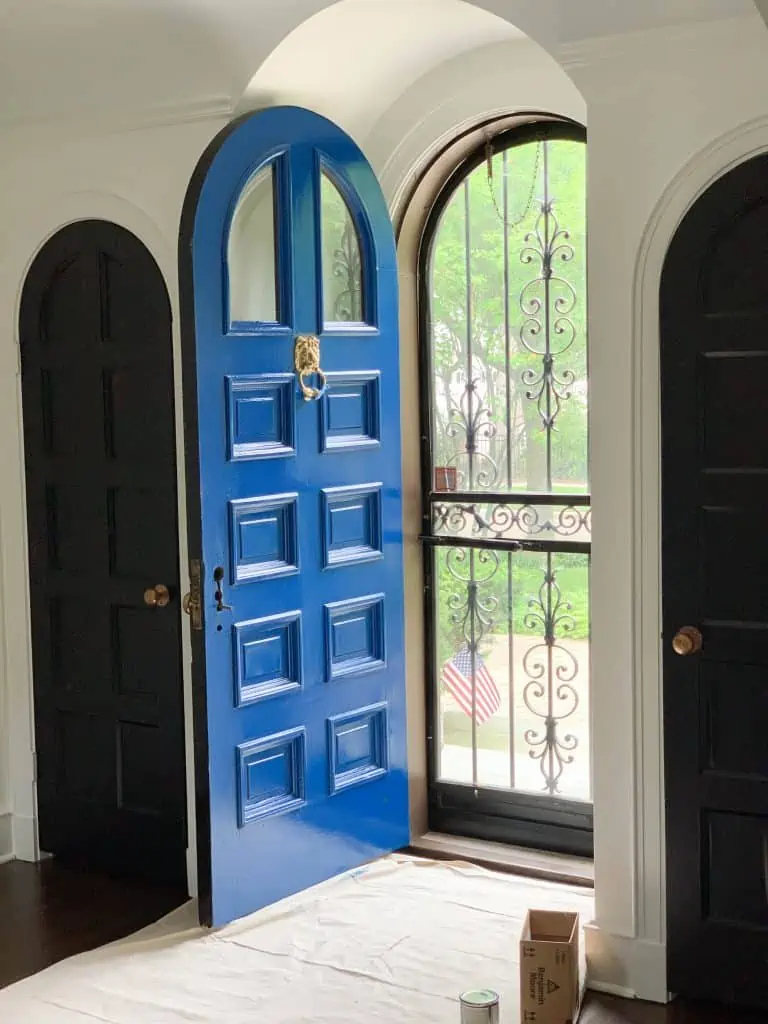
When JP and I first laid eyes on our home here in Chicago, we fell in love with it. BUT, we also fell in love with all the “potential” this house had. Sure it had gorgeous bones and character, but it needed to be brought back to life. And one of the main areas that needed some new life was this front entrance.
This front entrance felt old, and heavy and dark to me. It didn’t feel like the front door that four young kids should be walking through. We’re a young, lighthearted, family. And I want our home to feel that way.
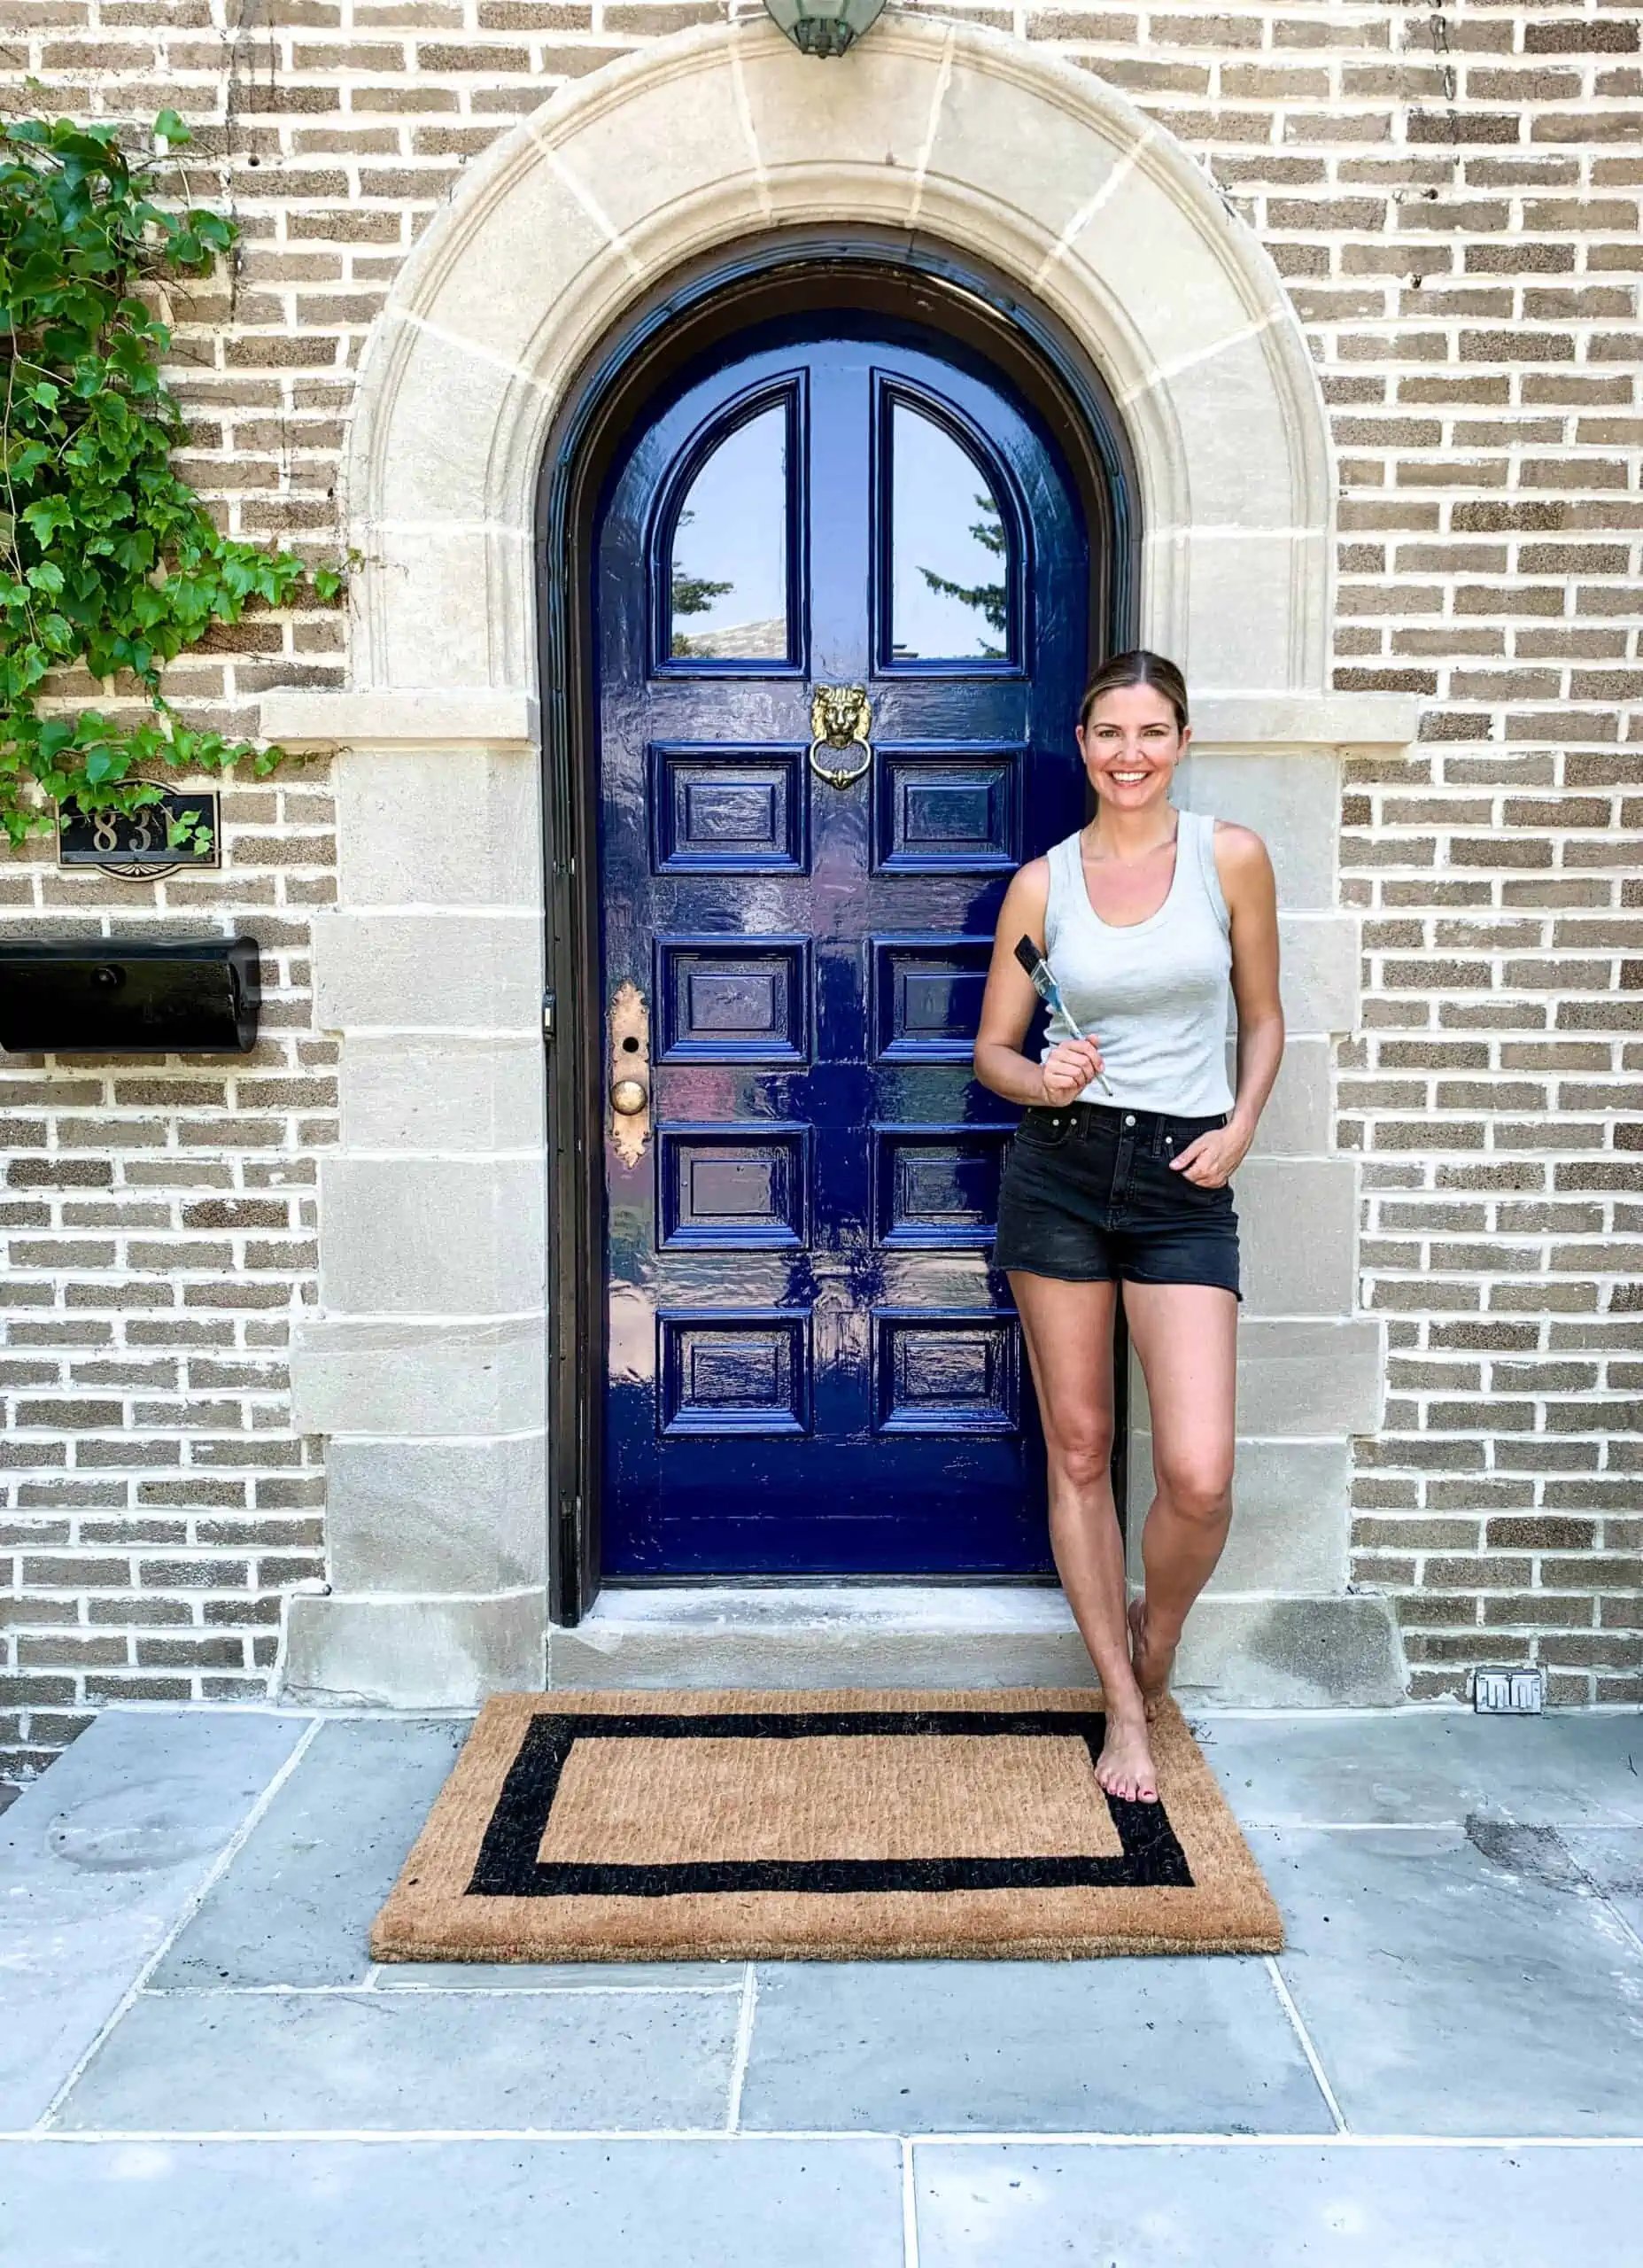
The front door of your home is the first impression people get. It’s how you welcome them in. I wanted our door to say “Hi, come on in. In this home, we’re happy and carefree, silly and warm. We dance in our pajamas, run in the grass barefoot, listen to music with our windows open, and giggle a lot. We are loud and silly and love big. Welcome. Come join us”.
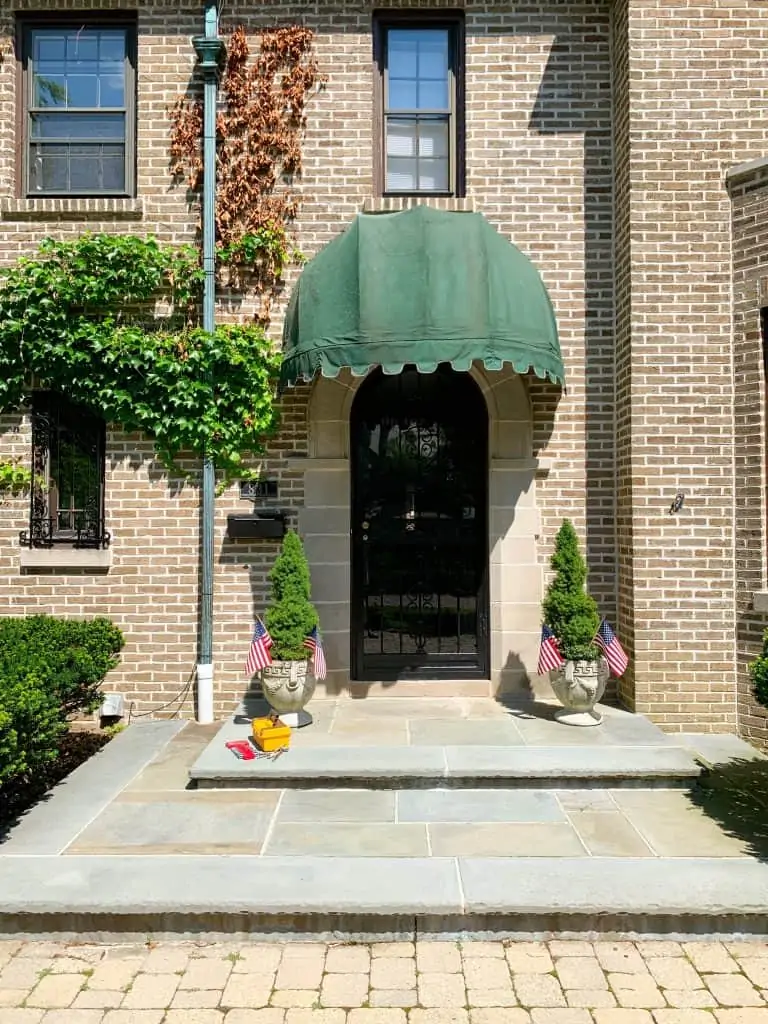
And let’s just say that a big green awning and rod iron door did NOT say that. So they had to go….
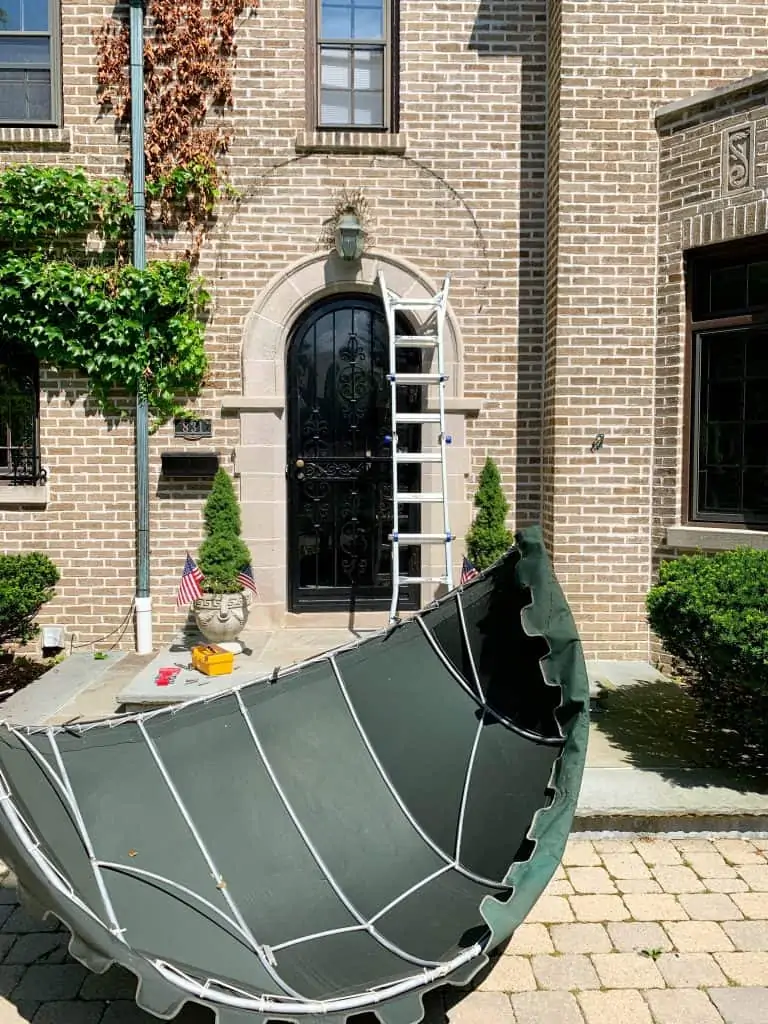
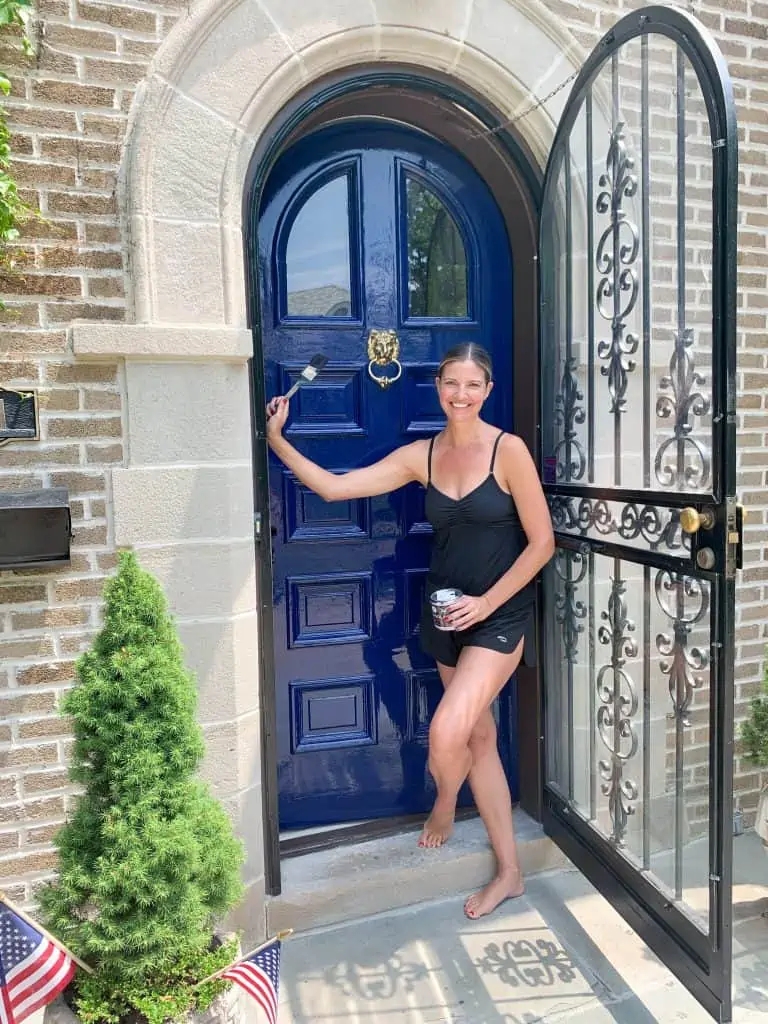
Once I had the awning down it was just a matter of deciding what to do with the big brown front door. Our home has a lot of warm notes to it (gotta love all the brown window trim), so I wanted a cooler color to balance it all out. (Plus, blue is my favorite color – so let’s just be honest, it was gonna be blue. ) .
Now I’ve painted a handful of front doors in my life, but this was my first time using oil-based paint and on a 100-year-old door. So I took a little extra care with this one. It took me about three days in total but was for sure easy enough for me to do on my own. Here’s how I did it.
1. Get organized
Before I start any project like this I get myself organized. Gather all the materials, clean out space around me, and prep any surfaces. For painting a front door (with FPOE), here are the materials you’ll need.
-
-
- sandpaper (220 grit)
- mineral spirits
- good quality oil-based brush ( I like working with a 1 1/2″ brush)
- drop cloth
- cleaning rags
- painters tape
-
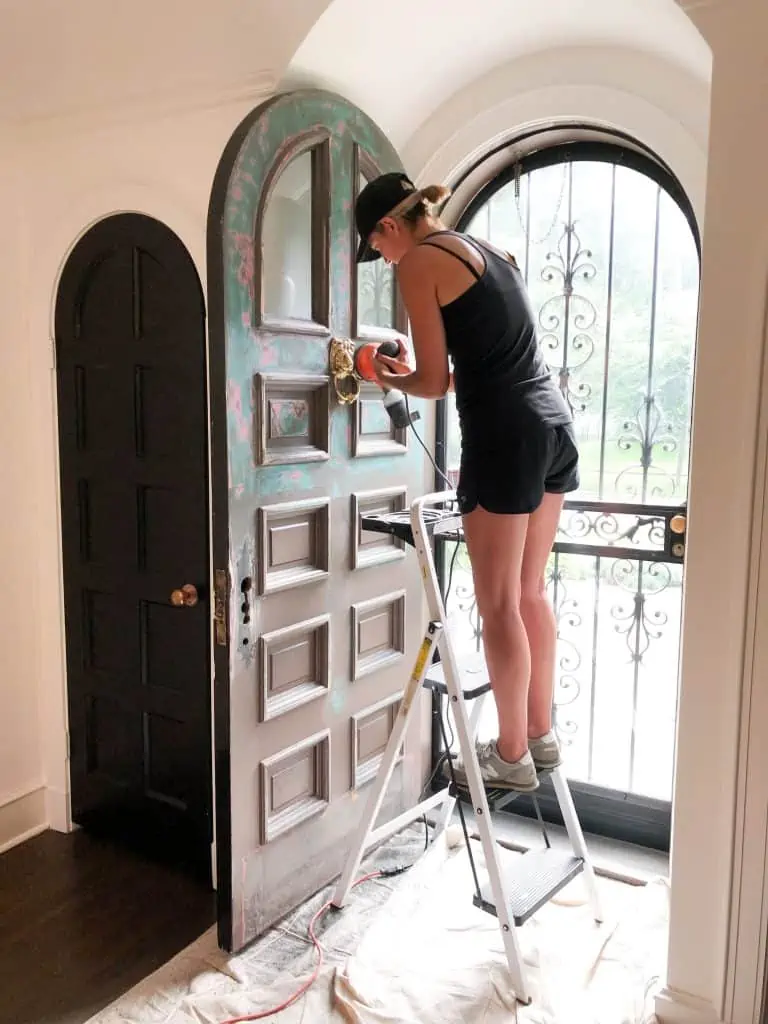
2. Prep the door
When working with Fine Paints of Europe, or really any paint for that matter, how much time and effort you put into prepping the surface will ultimately make or break your end results. It’s really important to take the time to sand your surface, especially for older doors like this one. I ended up using a power sander on the door which really helped (ps..I did not put plastic up around my work area and really regret it – there was dust EVERYWHERE!). There were layers and layers of old paint that I was able to smooth down. You want your surface to be as smooth as possible.
Then, it’s equally important to CLEAN the surface after you’ve sanded it. When using FPOE, you want to clean the surface with a rag with just a touch of mineral spirits. But for acrylic-based paint, you can just use a rag and a little water. And of course, be sure to let the surface dry COMPLETELY.
Remove any hardware that you can and tape around any surfaces that can’t be (I actually prefer to cut windows by hand rather than taping, but it’s a personal preference).
3. Prime
Next, you’ll want to prime the door with the Fine Paints of Europe primer. I had my local paint store tint the primer to the color I was painting the door (I actually ended up changing the color after I applied the primer. So the primer worked great as a “test” run for the color). If you’re using an acrylic paint you may not need a primer. I’d follow the recommendations with your local paint store, each paint is a little different.
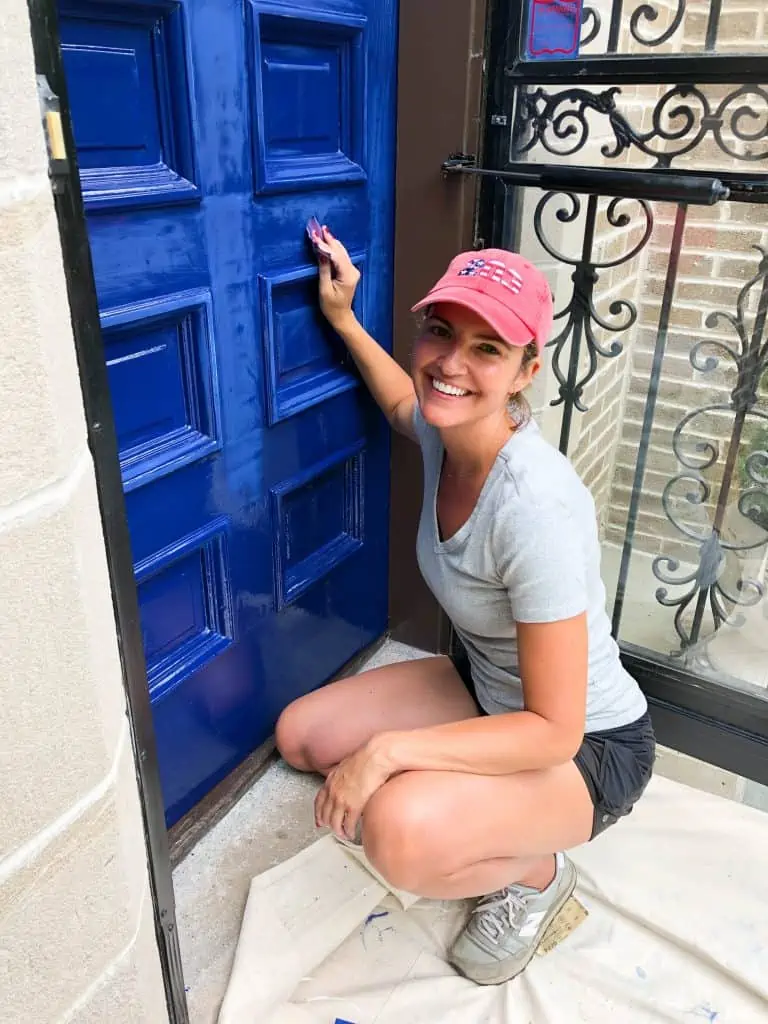
4. Sand again
After the primer has fully dried (wait at least 24 hours) you’ll want to sand the door again. This time working a little “gentler”. I used a power sander for before I primmed the door, but in between coats of paint, I sand by hand (using 220 grit paper). You’ll then want to wipe the door clean using either a damp cloth (if working with acrylic) or a cloth with a splash of mineral spirits (if working with FPOE). Make sure the door is completely dry (and dust-free!) before applying the next coat of paint.
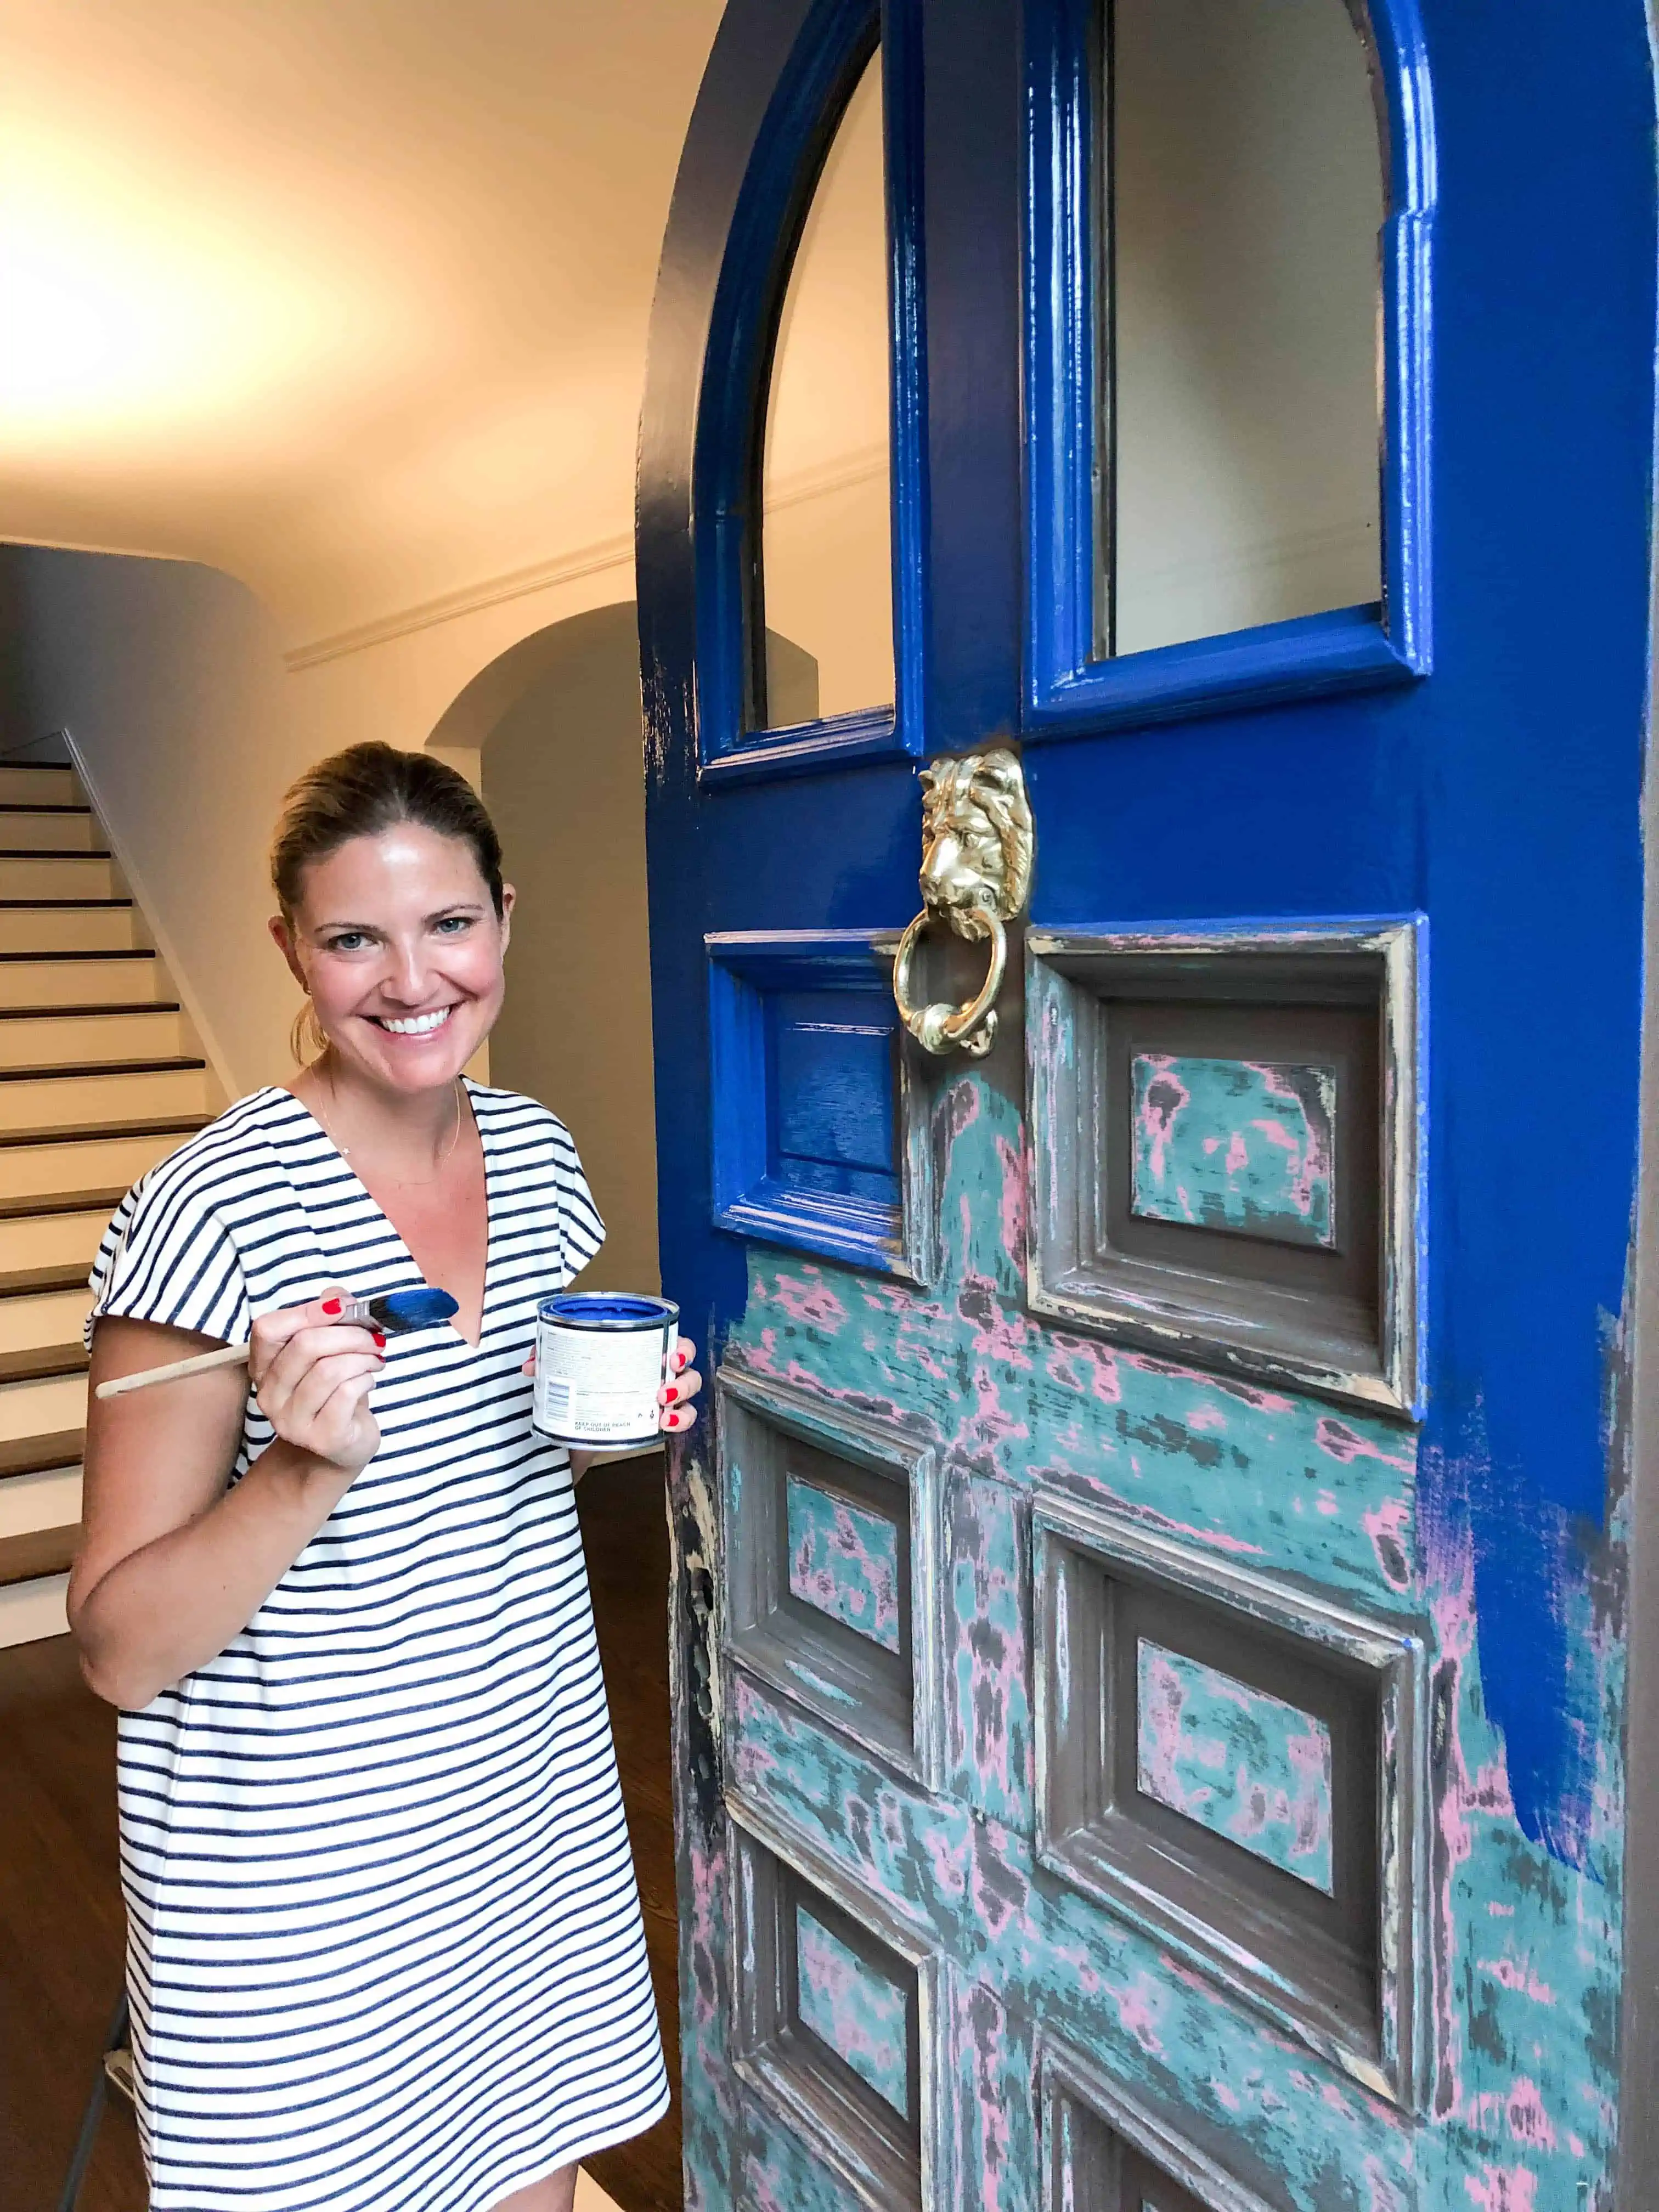
5. 1st and 2nd coats of paint
Now you’re finally ready to paint! If you’re working with Fine Paint of Europe, you’ll want to add a very small splash of mineral spirits to the paint to “thin” it just a little. You want the paint to glide across the door smoothly and not feel like the brush is “pulling”. It takes a little bit of practice to get the right consistency. But adding too much will cause the paint to be too thin and run, so add just a very small amount at a time.
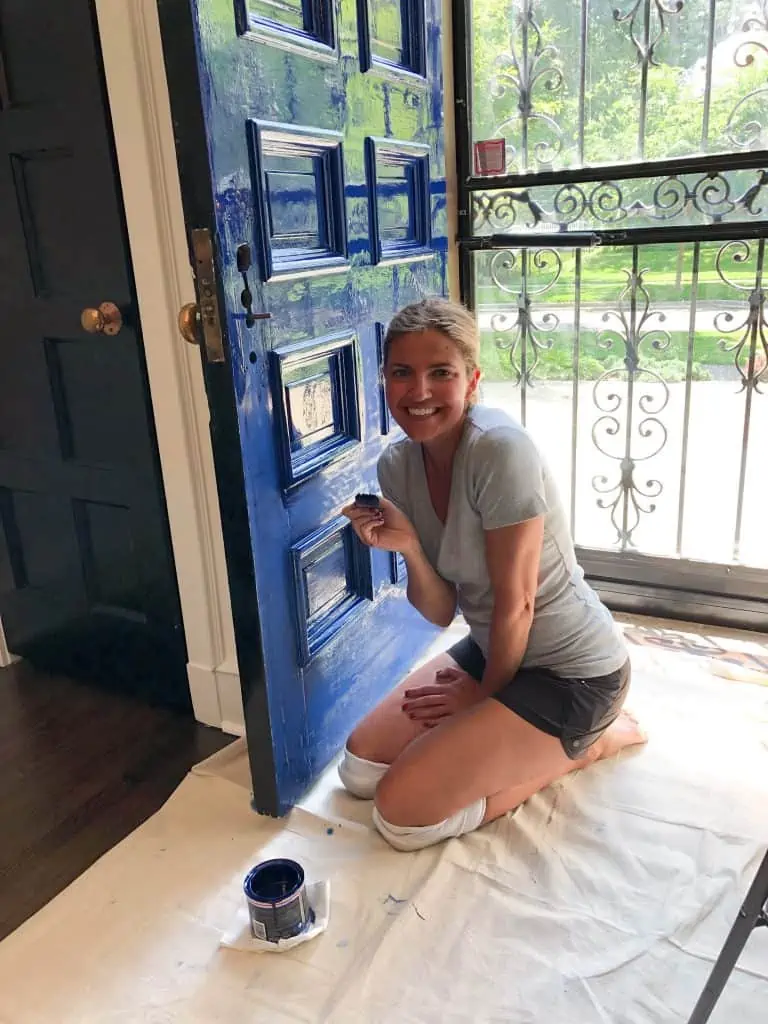
Working slowly and smoothly, in light thin coats, paint the entire door working with one section at a time. Follow the grain of the wood. Do not be tempted to go over an area twice to “smooth” out brushstrokes. They will even out on their own. And be cautious not to have too much paint on your brush. It WILL cause drips and runs.
After the first coast is evenly applied, evaluate if a 2nd (or even 3rd) coat is necessary. I chose to repeat steps 4 and 5 and apply two coats of paint (on top of my 1st coat of primer). But not every door will need that.
If you choose to do a second coat, make sure to wait at least 24 hours until the first coat is completely dry. You’ll then want to sand the door again (still using 220 grit paper), clean with mineral spirits and allow the door to dry completely. They repeat your painting process.
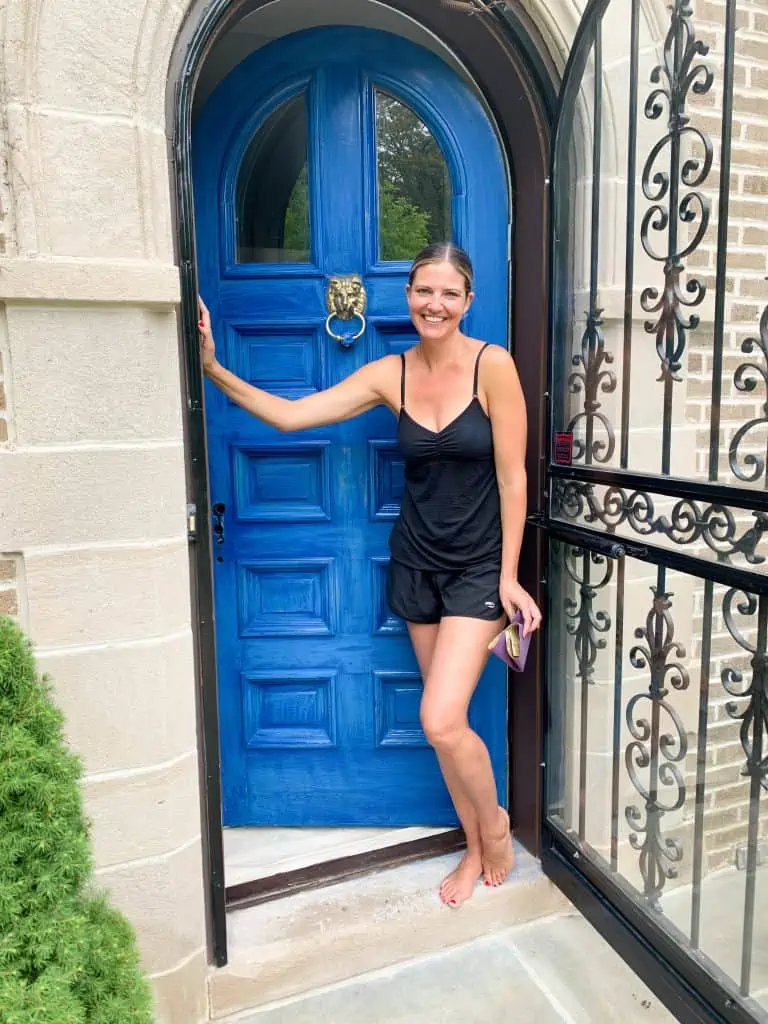
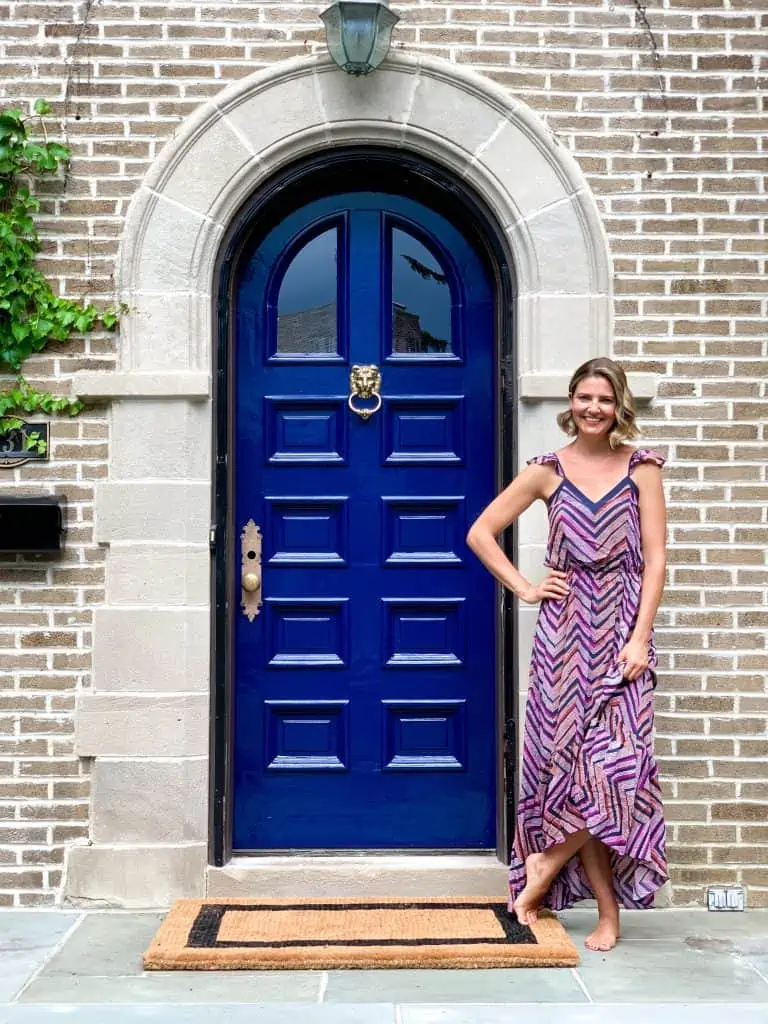
6. The finished product
When the door is completely dry (wait at least 24-48 hours), reapply all of your hardware. I like to clean all of my hardware with Brasso before I reapply it to make sure it looks just as shiny and gorgeous as the freshly painted door. And then all you have to do is step back and enjoy your gorgeous new door!
Painting your front door, or any door of your home is truly easier than you may think and is such a great way to add new life and personality to your home.
This entire project cost me no more than $100 and totally transformed the entrance of our home. I couldn’t be happier with the results. Sure it’s not perfect, but I love it.
I wholeheartedly believe that our homes should be a place we can “play” and try things out. Not take ourselves too seriously and a place we can take risks. Even if you make a mistake or don’t’ love it – it’s just PAINT – it can be changed.
Even more than I love our new blue front door (and I LOVE it) – I love the fact that JP and I did this on our own. We took a risk, had a little fun, and are slowly (one paint can at a time) turning this 100-year-old-house, into our home. And I couldn’t’ be happier. I hope this may inspire you to do the same. Happy painting, friends!
And for more inspiration on ways to use paint to make your home yours, be sure to check out our tips on how to paint your own wallpaper and how to paint furniture like a pro
LEAVE A COMMENT & RATE