


SUBSCRIBE
Get on the list and let’s become friends. Join our community of like minded women, and get all my latest recipes, finds and personal stories. I’m so happy you’re here.
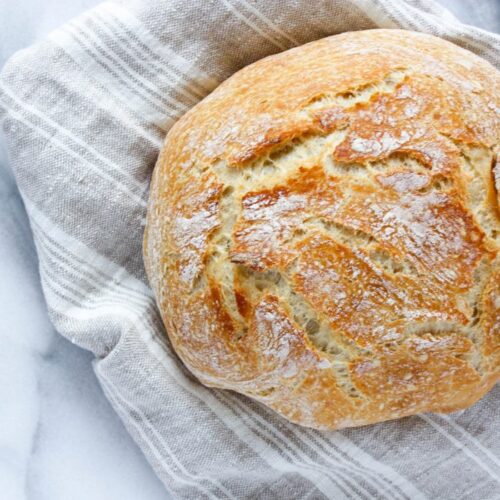
No knead artisan bread
Over the past few weeks I’ve had a major bread baking obsession. I’m talking almost daily. It started with a recipe I found on Pinterest for a basic loaf of white bread. While it was ok, I knew we could do better. And if there’s anything I love, it’s a challenge. So of course the kids and I took it upon ourselves to find the very BEST (but still simple!) homemade bread recipe.
After our boring Pinterest fail, next we tried this recipe from a blogger I love, Brooke, over at Nesting With Grace. She’s been talking about it for a while on her blog, so I decided it was finally time for us Rexing’s to put it to the test.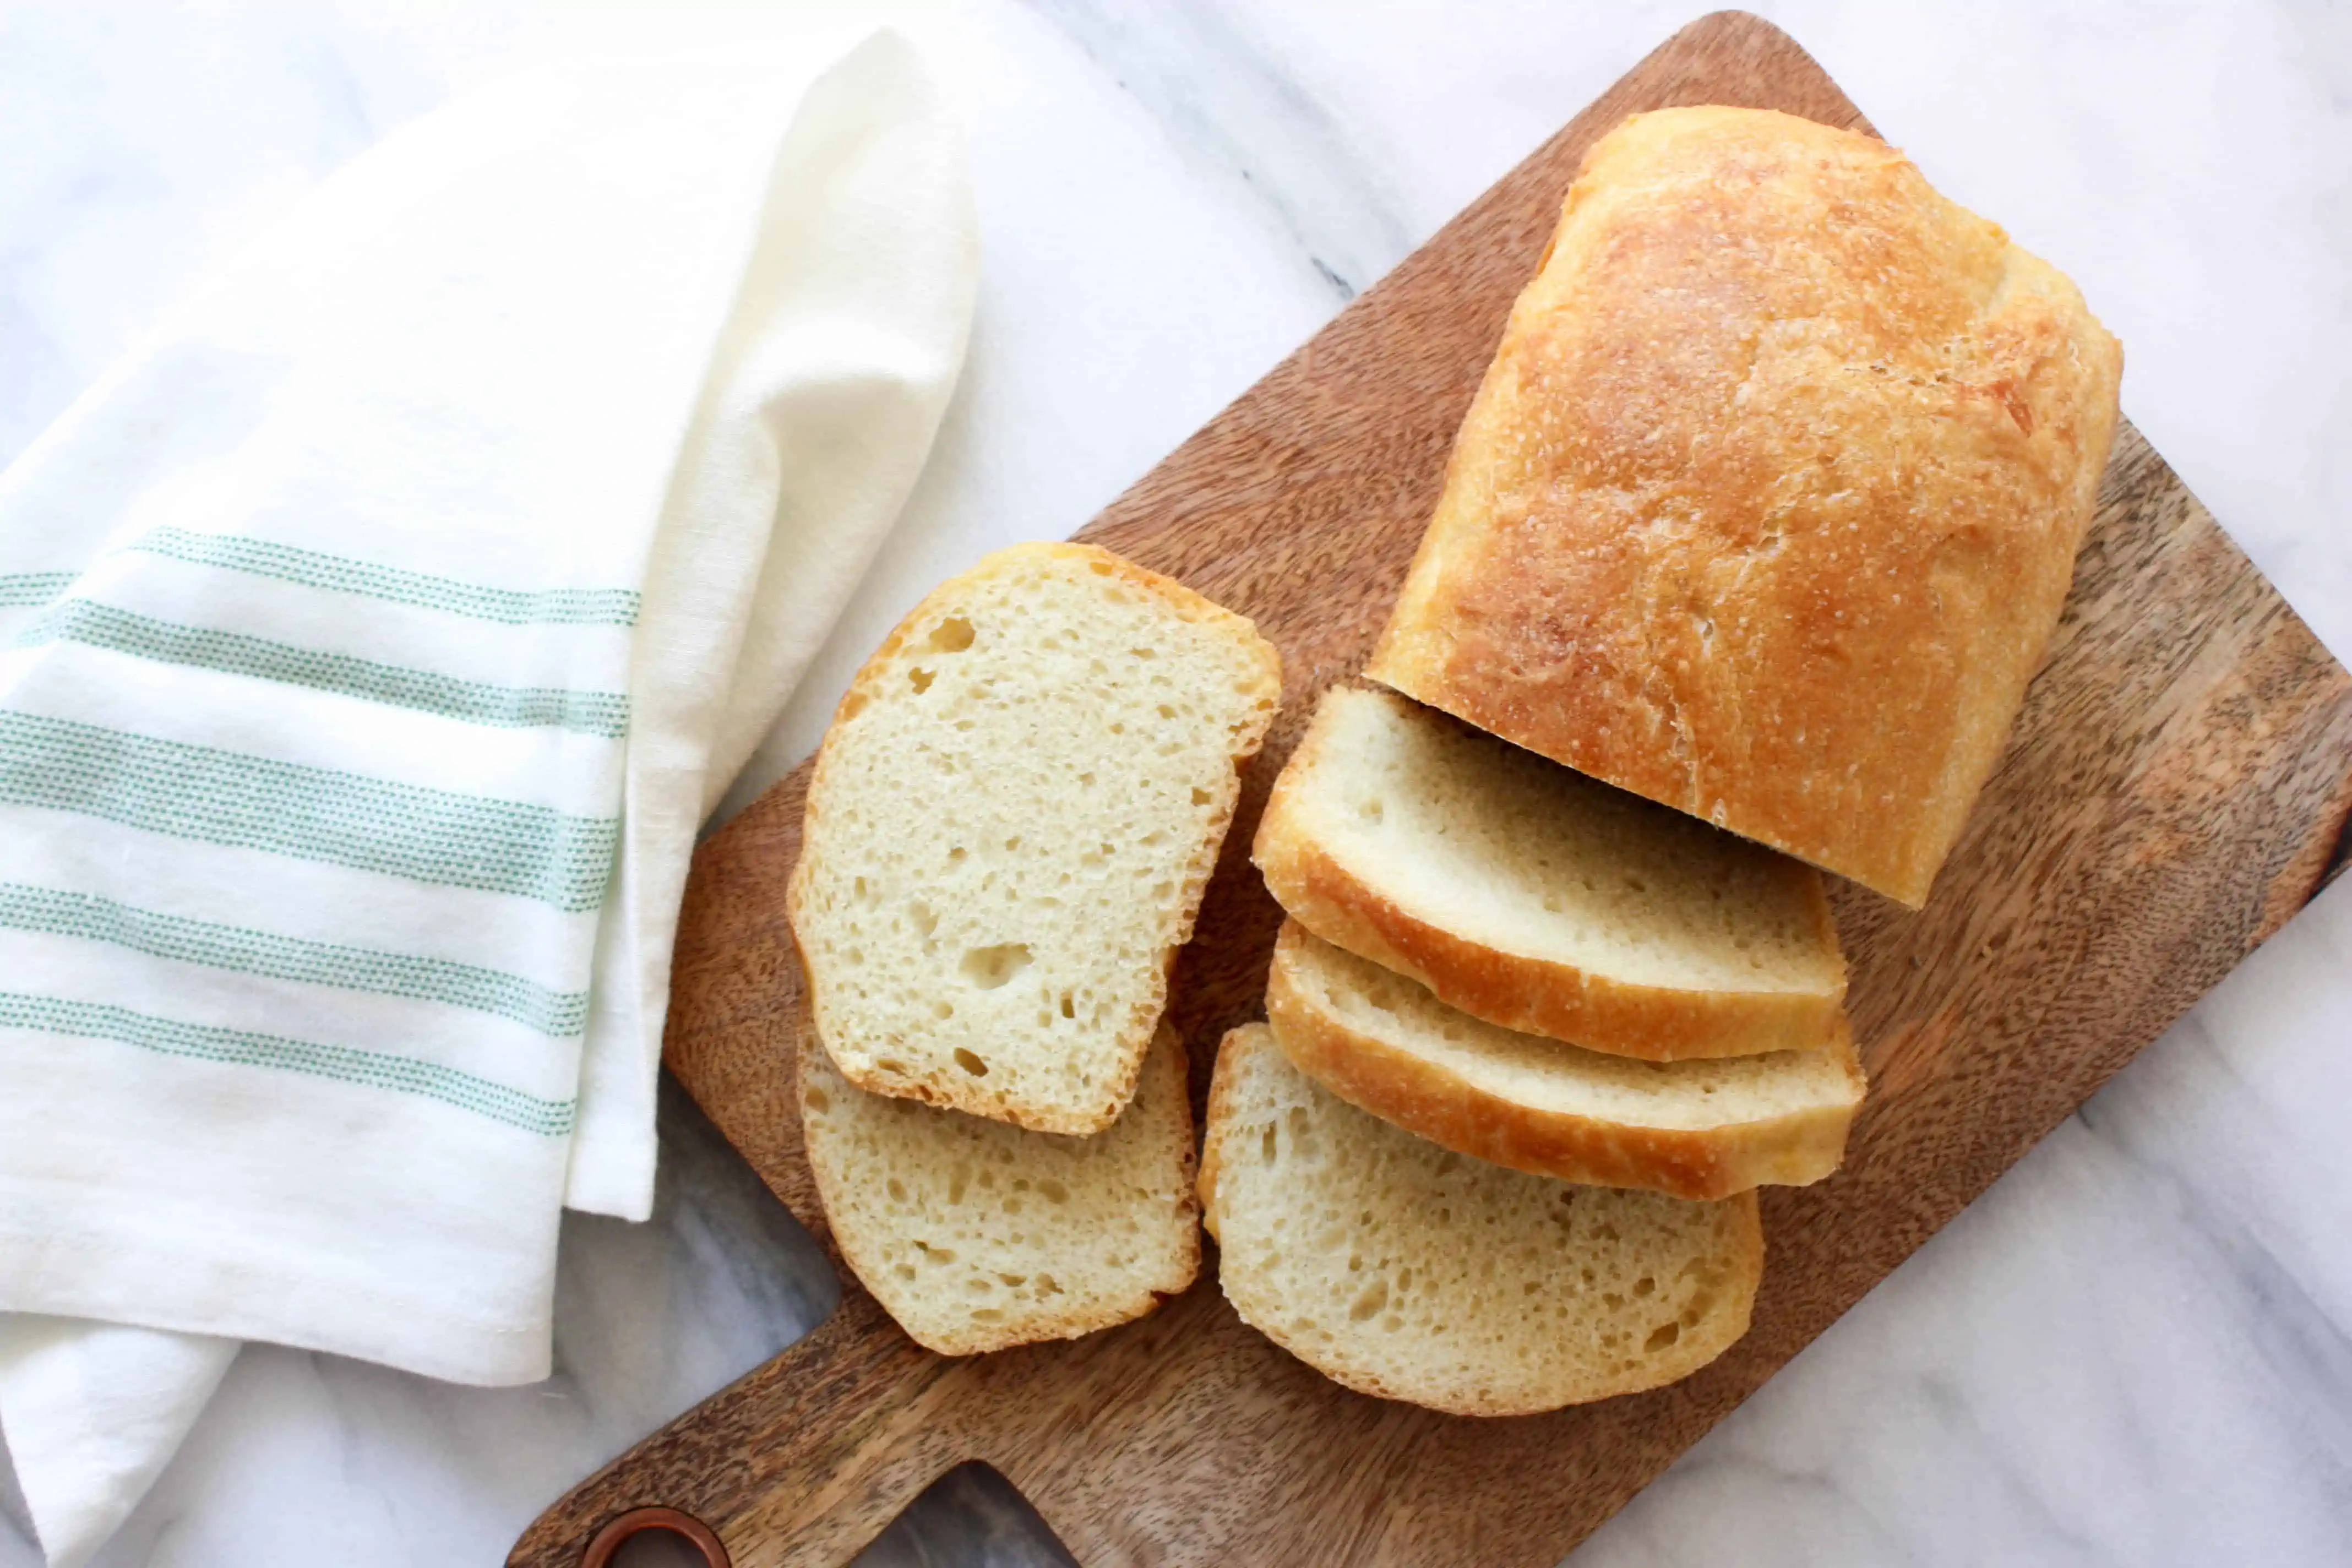
And let me tell you, this bread is great. An easy “go to” bread for toast or sandwiches. My kids love it, and we go through a loaf within a day (we make a lot of sandwiches with four kids).
But I still wasn’t quite satisfied. I wanted something a little more rustic. Something with a thicker, heartier crust. Something a little more sophisticated, more artisanal, something that just begs you to rip off a piece even before you’ve sat down for dinner (please, we all do it).
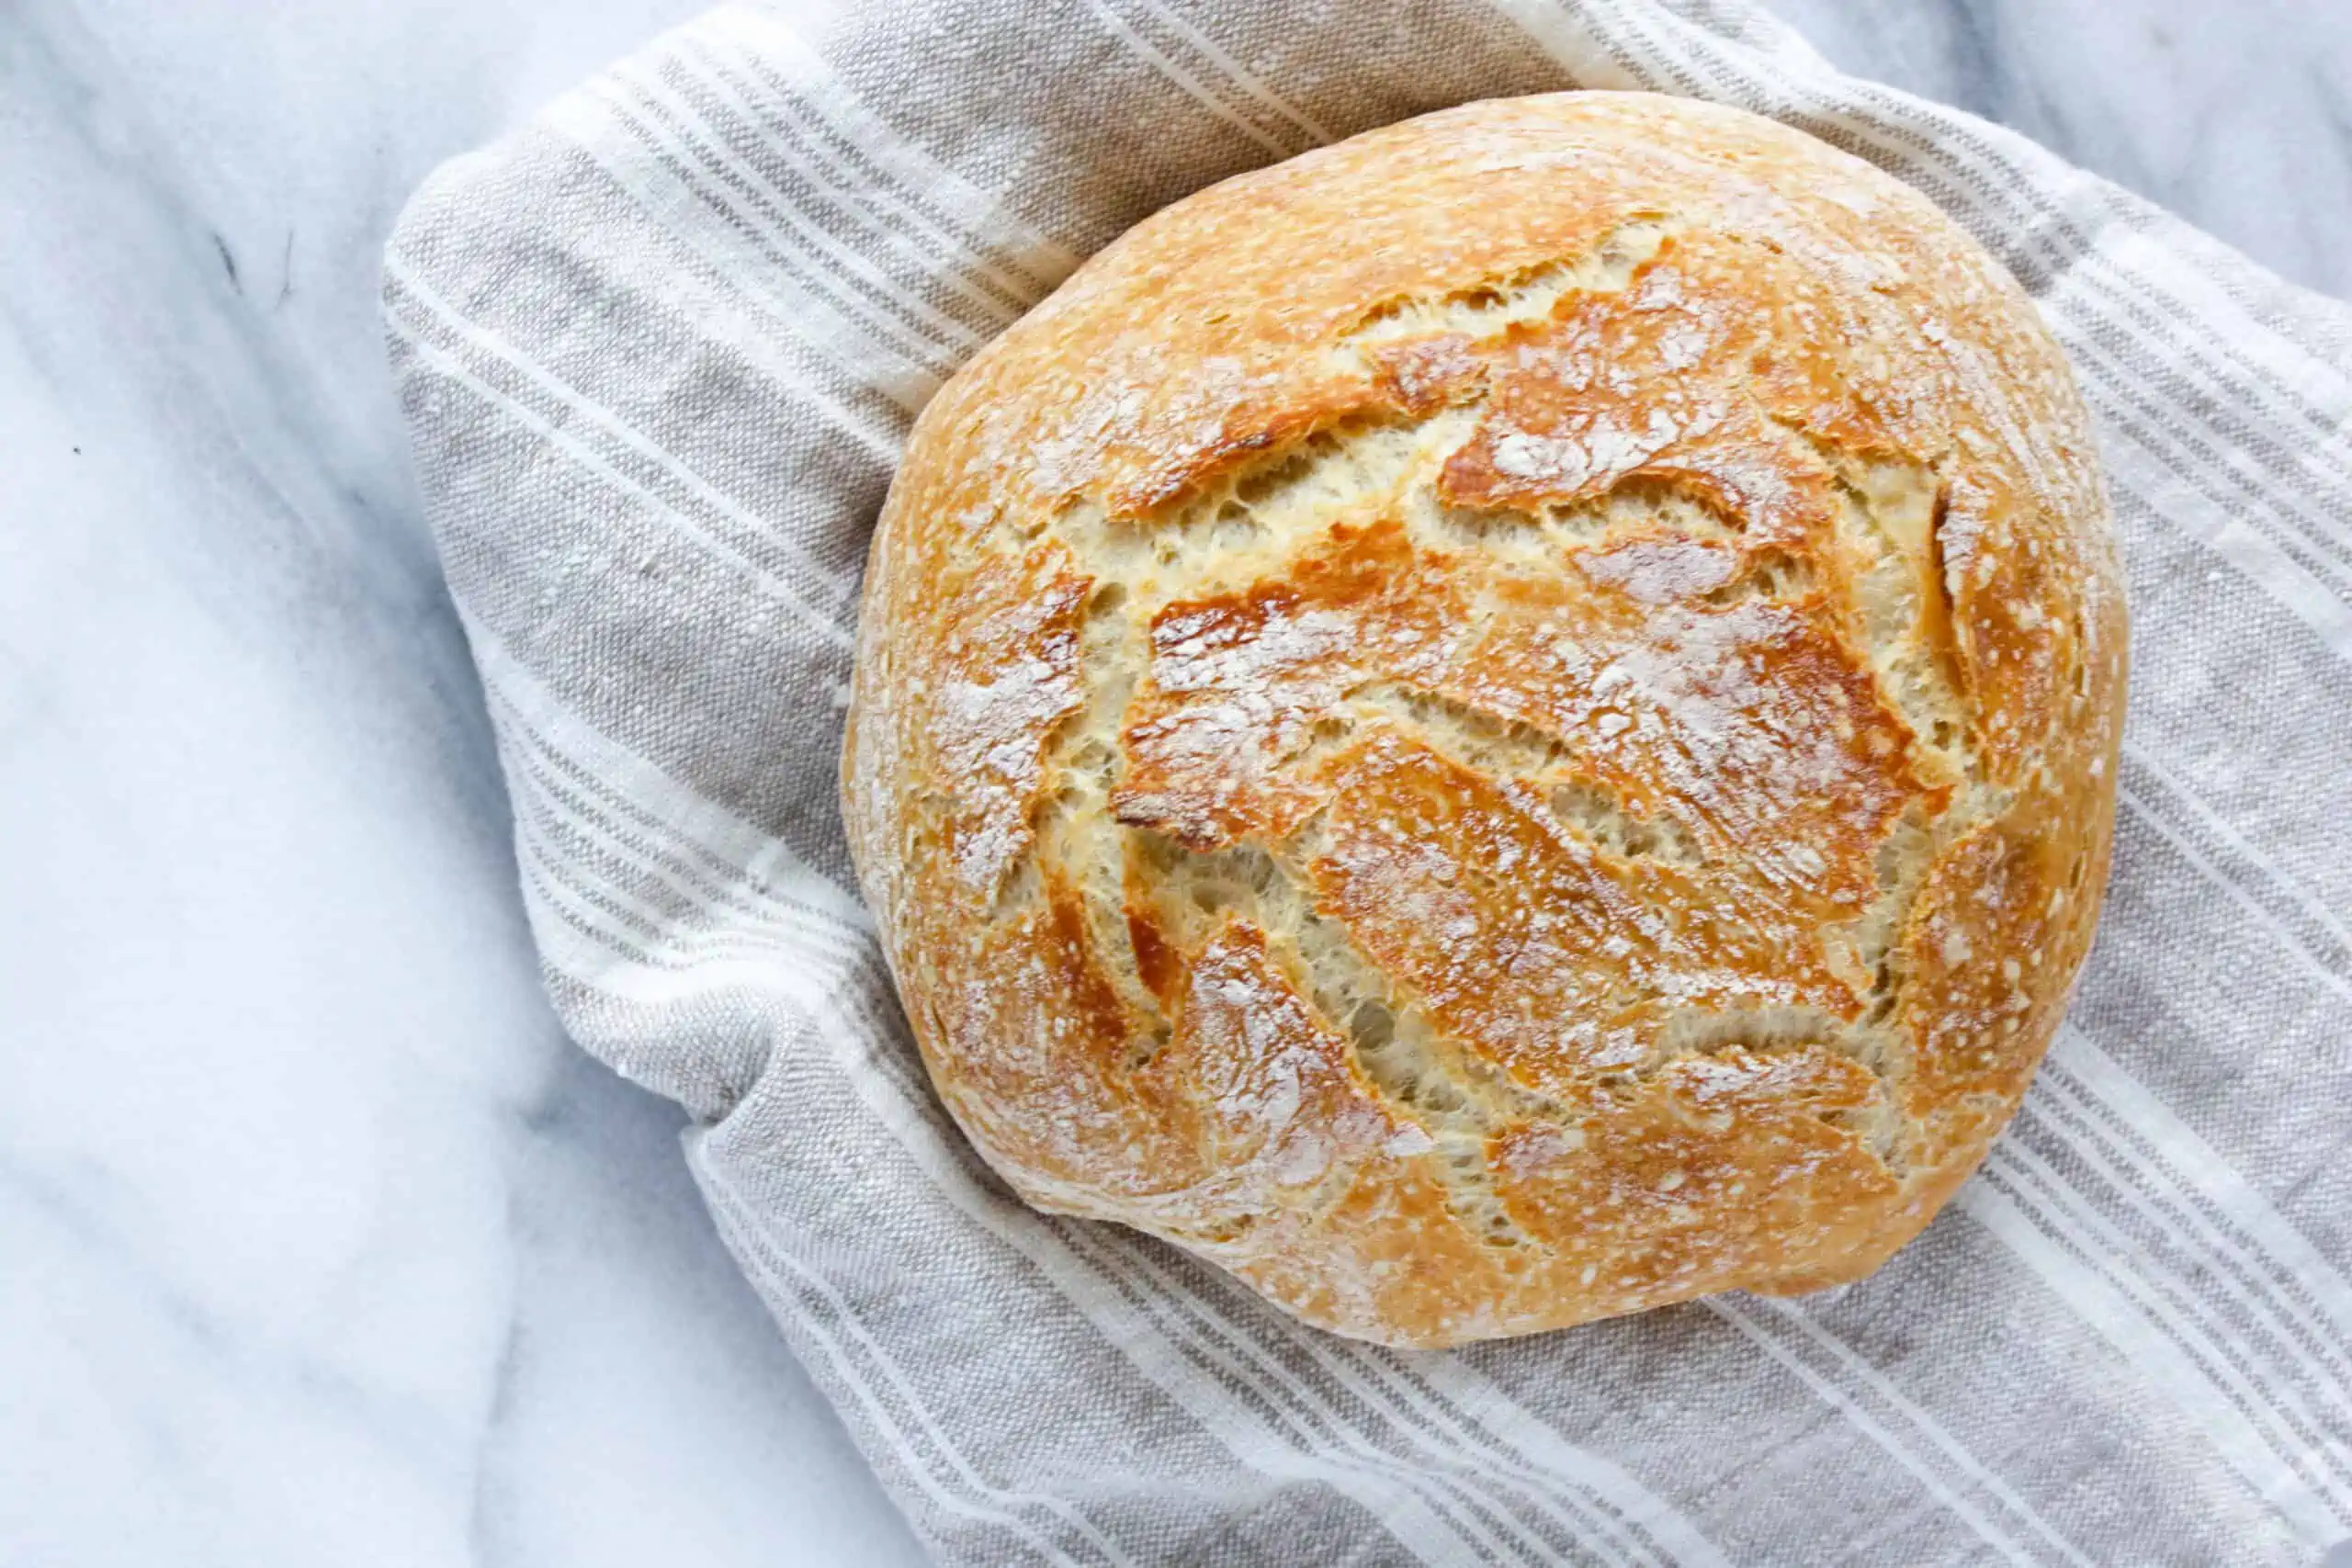
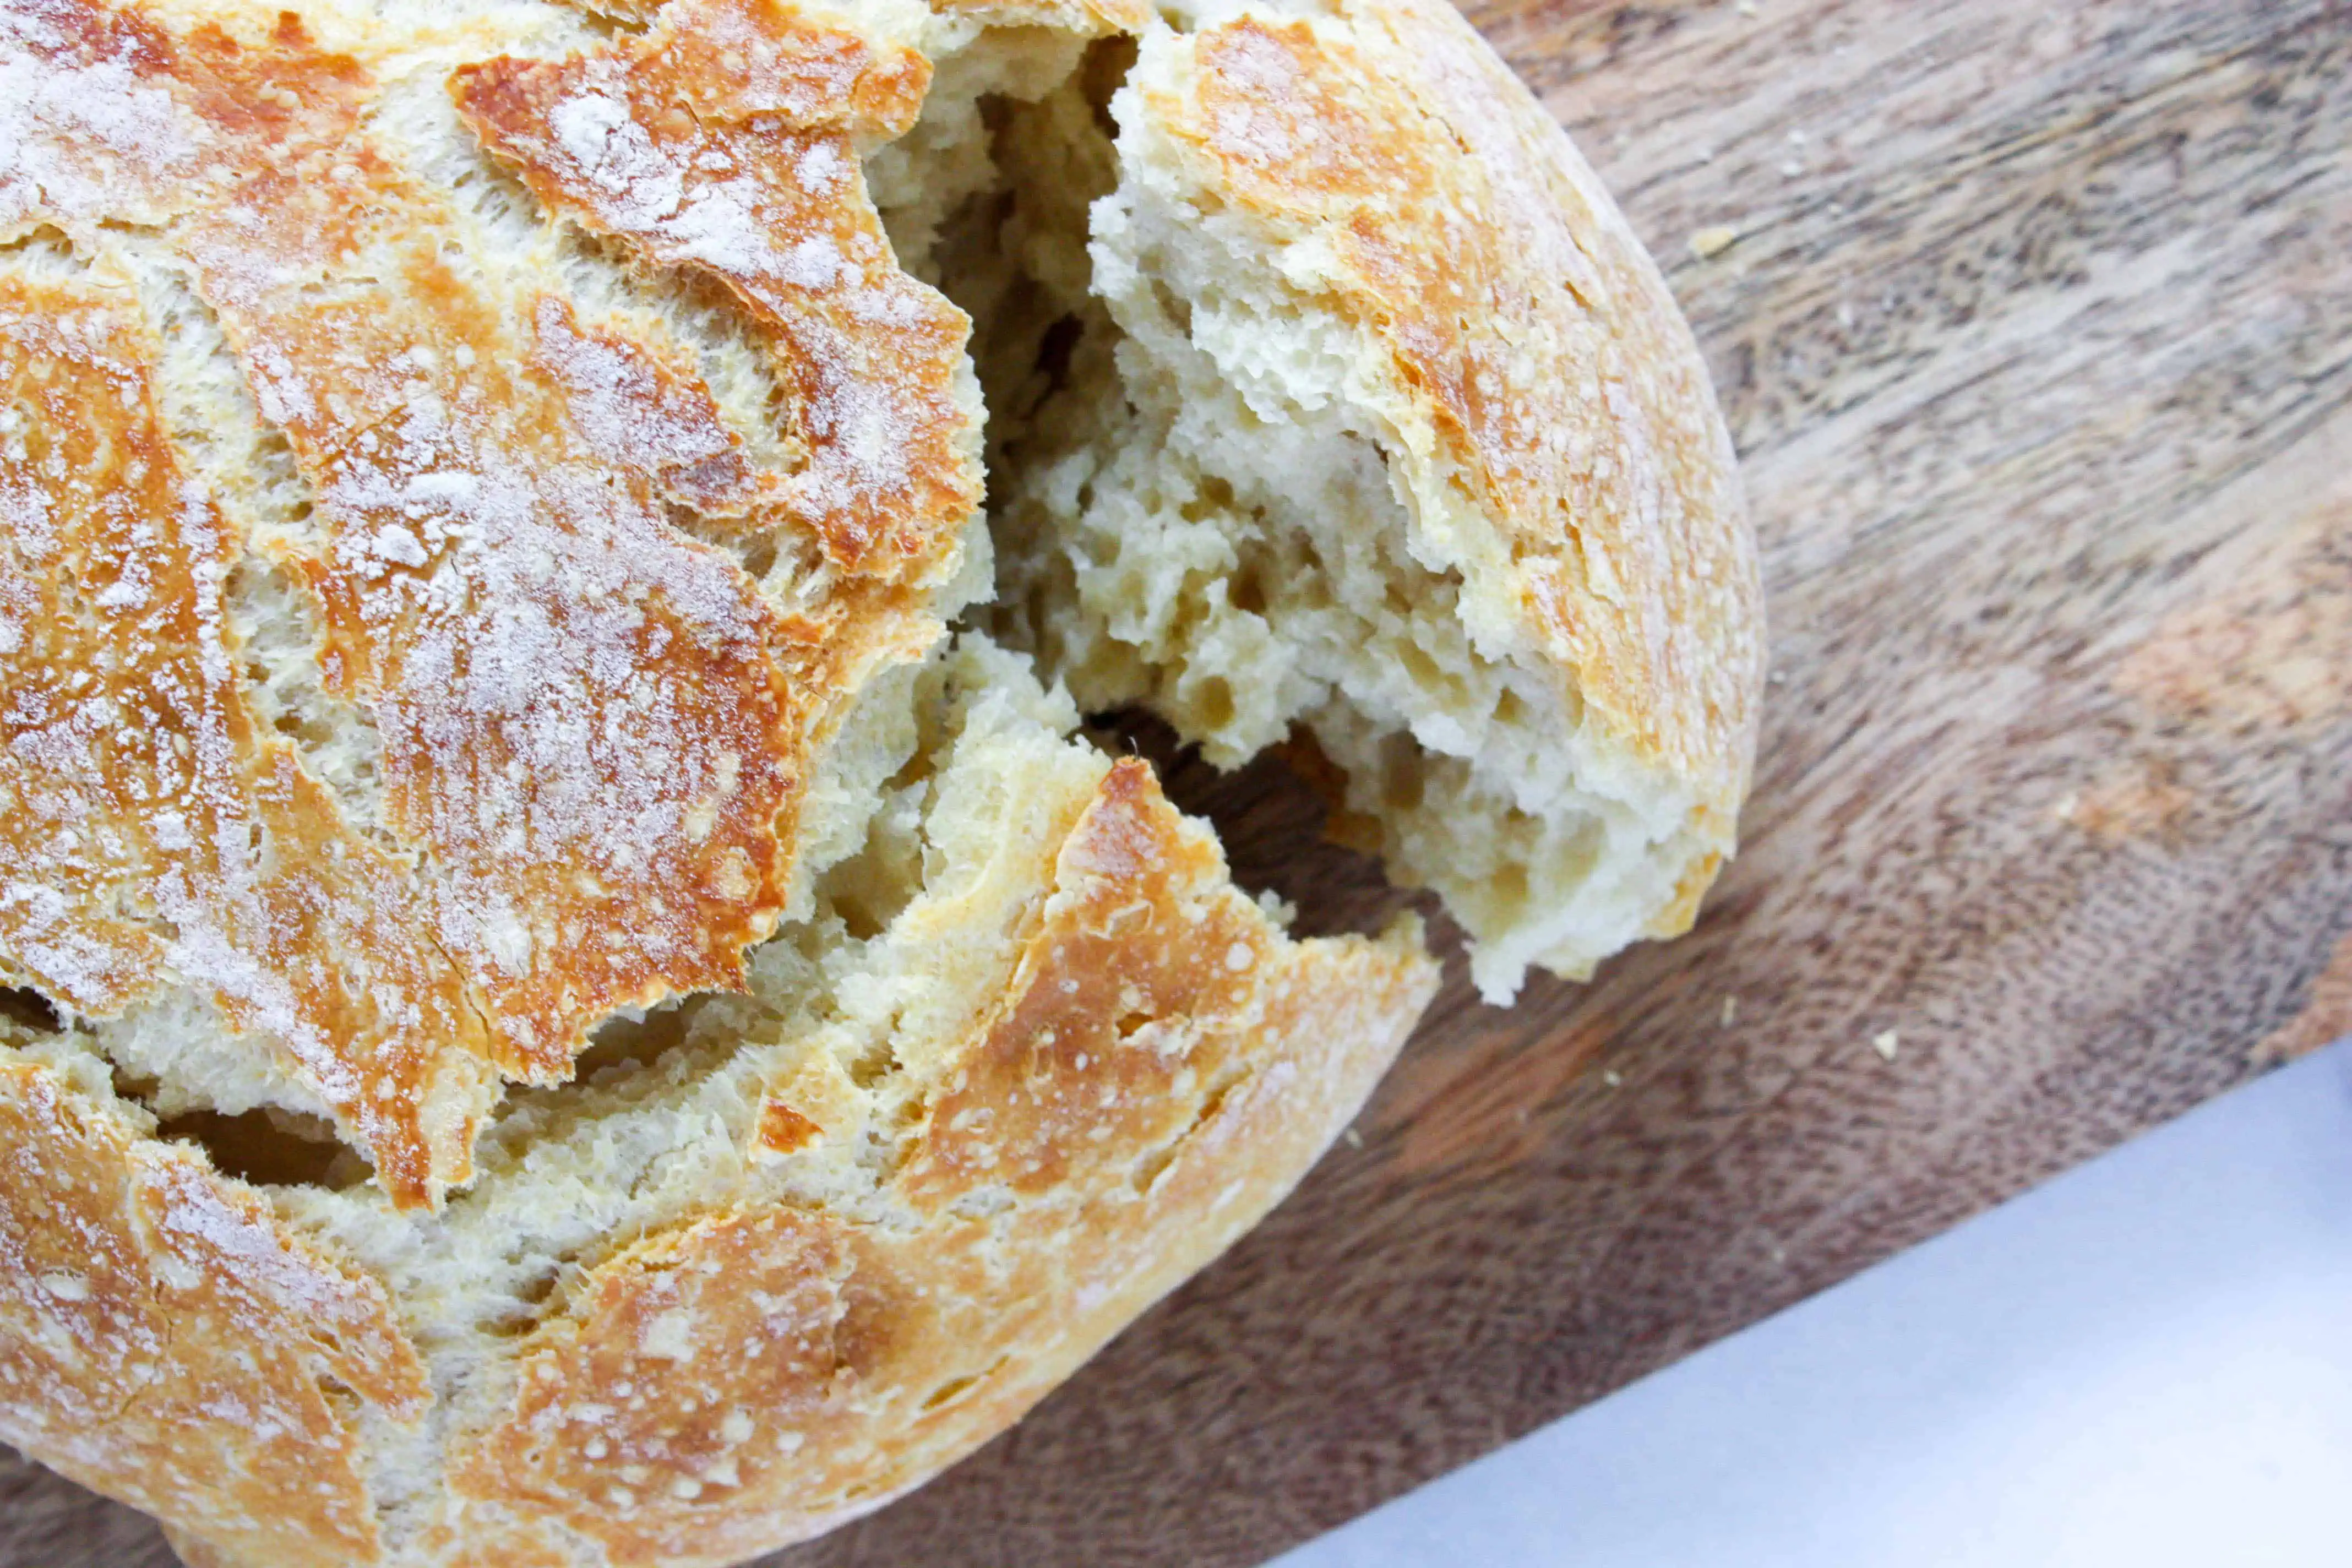
Friends, let me introduce you to my answered prayer with this no knead artisan bread.
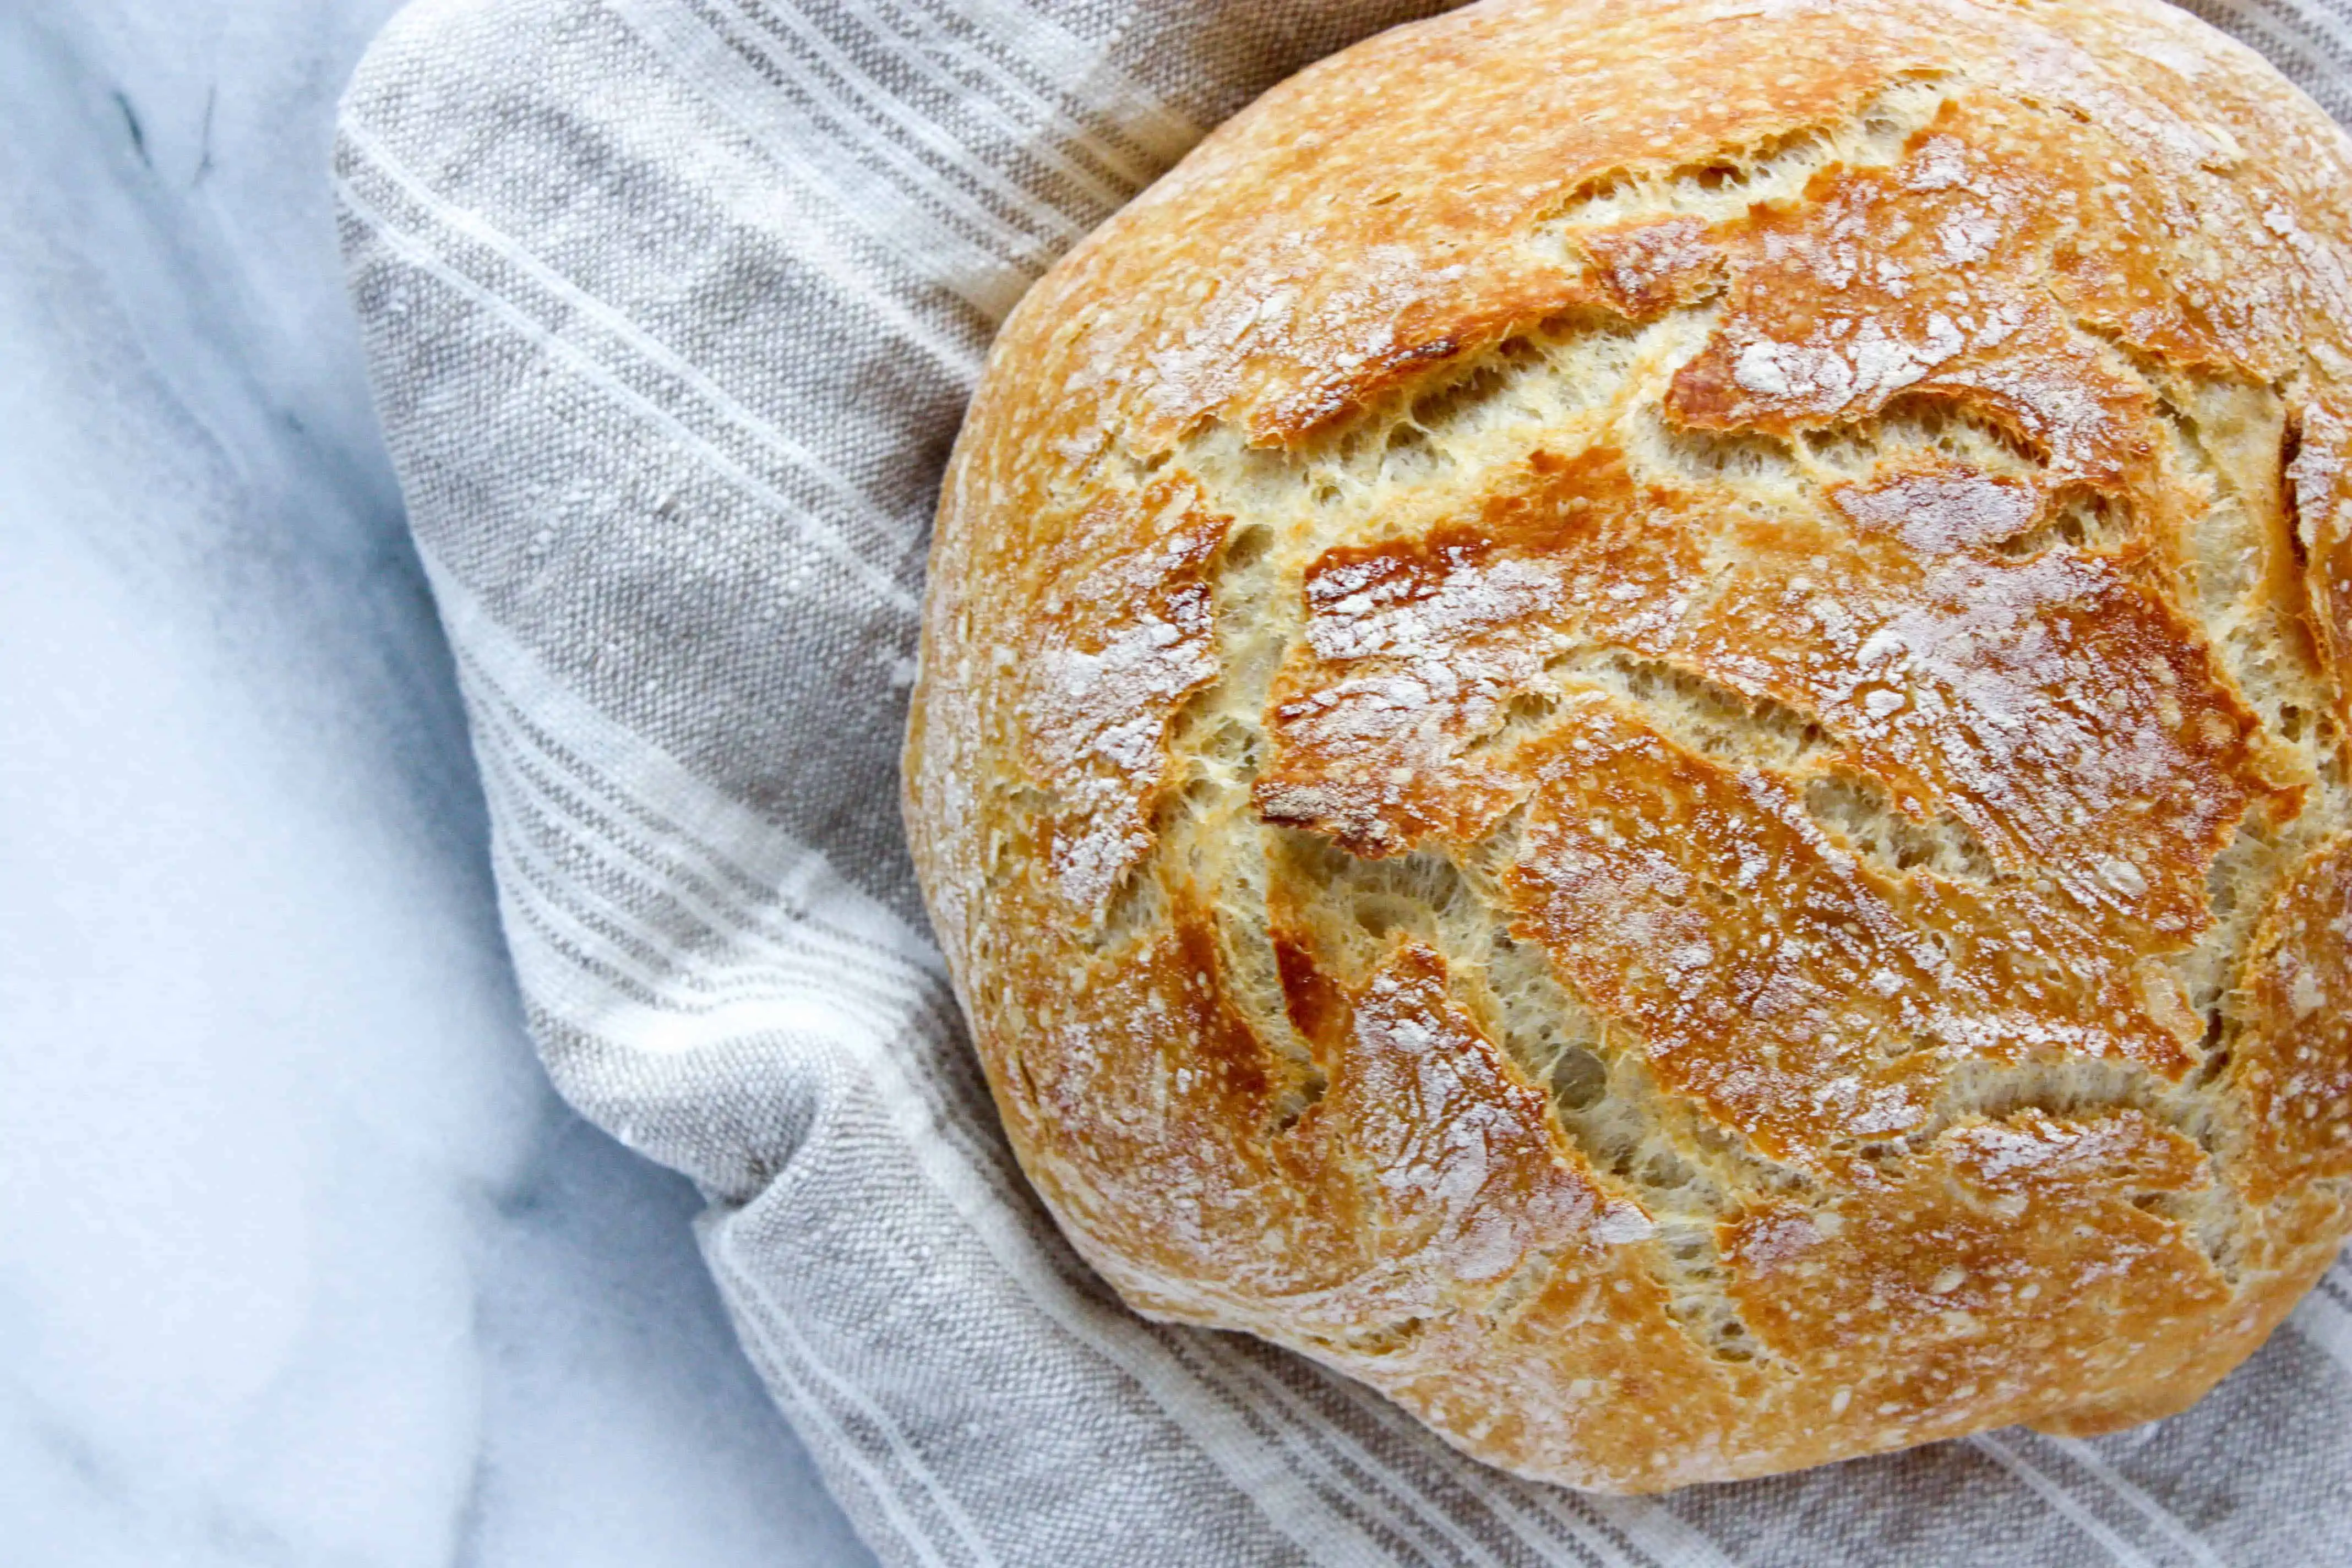
It has a thick flaky, crunchy exterior, with a warm soft tender interior. It’s everything you’d expect from a great loaf of bread.
Now, before we go any further, I think I need to clear about something. While there are many things I think I do well, becoming an overnight “master bread baker” is not one of them. I think bread making is an art, and let’s be honest, something that has been mastered way before my time.
Bread is essentially a few ingredients; flour, yeast, salt and water. Ingredients and formulas that have been around forever, and something that no one can really take credit for. Yes, people have their different “variations”, but essentially the basic formulas for bread haven’t really changed much over the years.
So I can’t really take credit for this recipe, but rather am just sharing it as something our family has come to love, and I’m hoping yours does as well.
So here’s why, I am obsessed with this recipe.
- It’s four ingredients
- It’s a dump and mix kind of recipe – NO KNEADING required
- You don’t need a special bread pan/mold for baking.
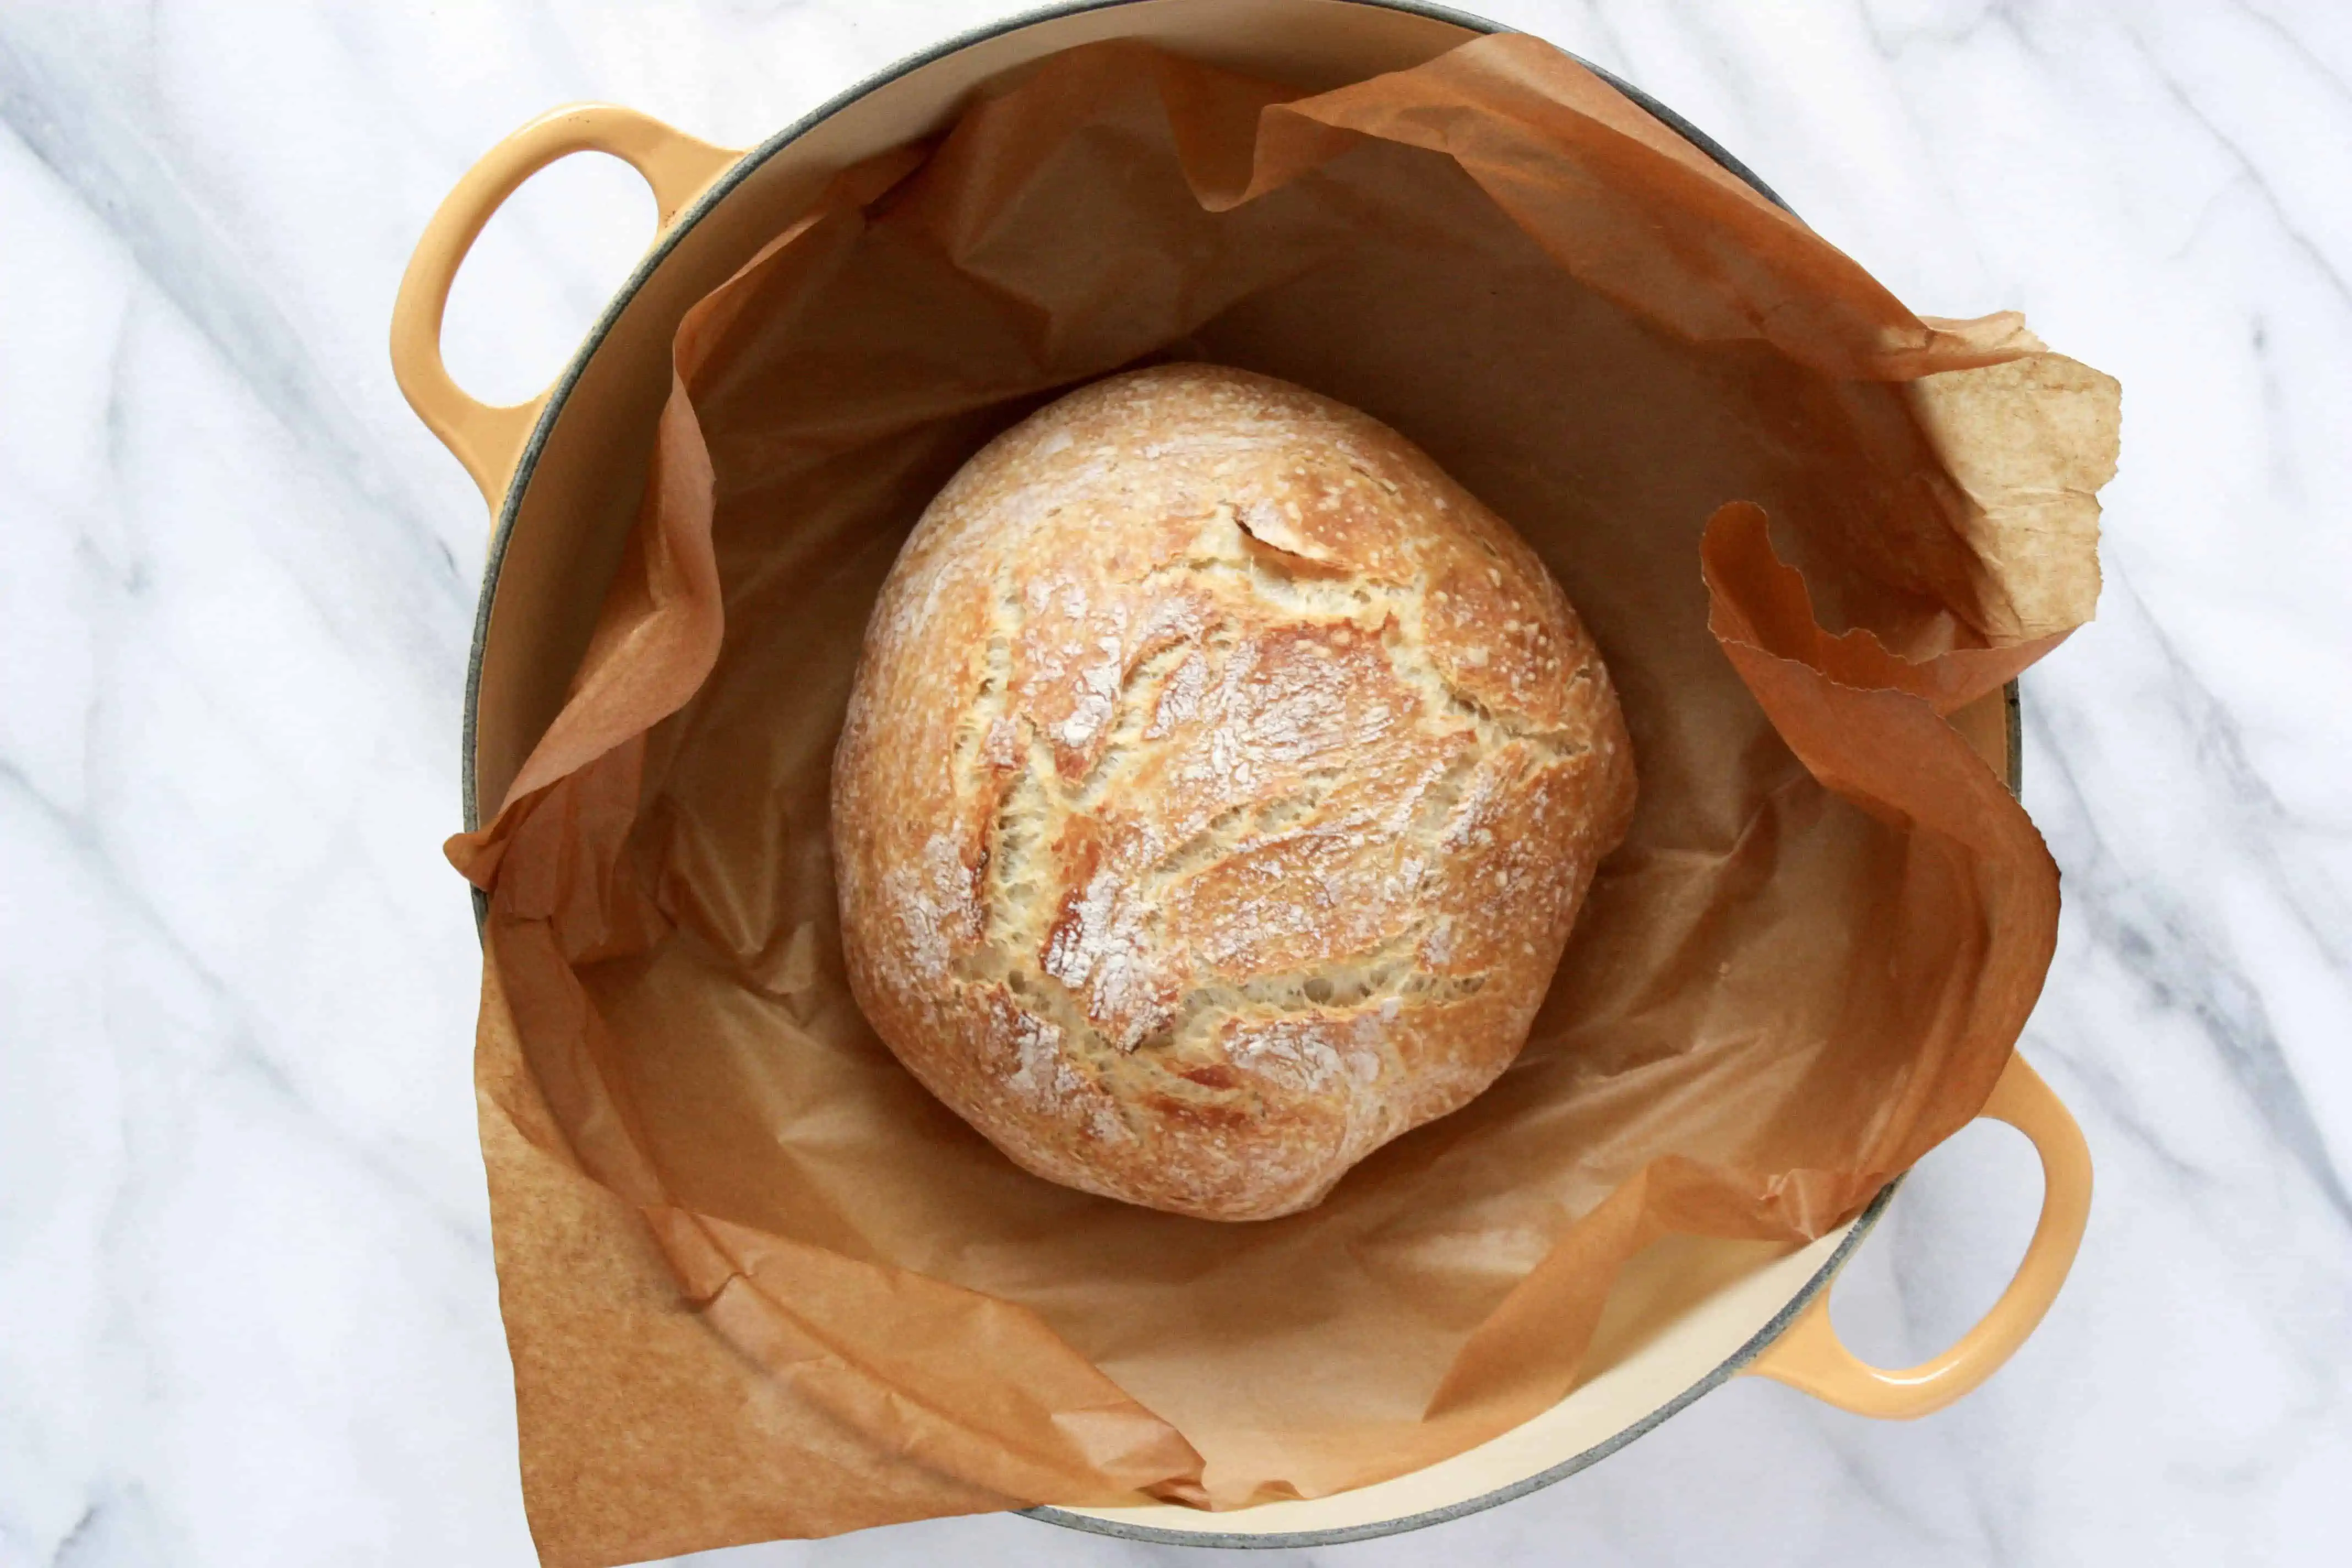
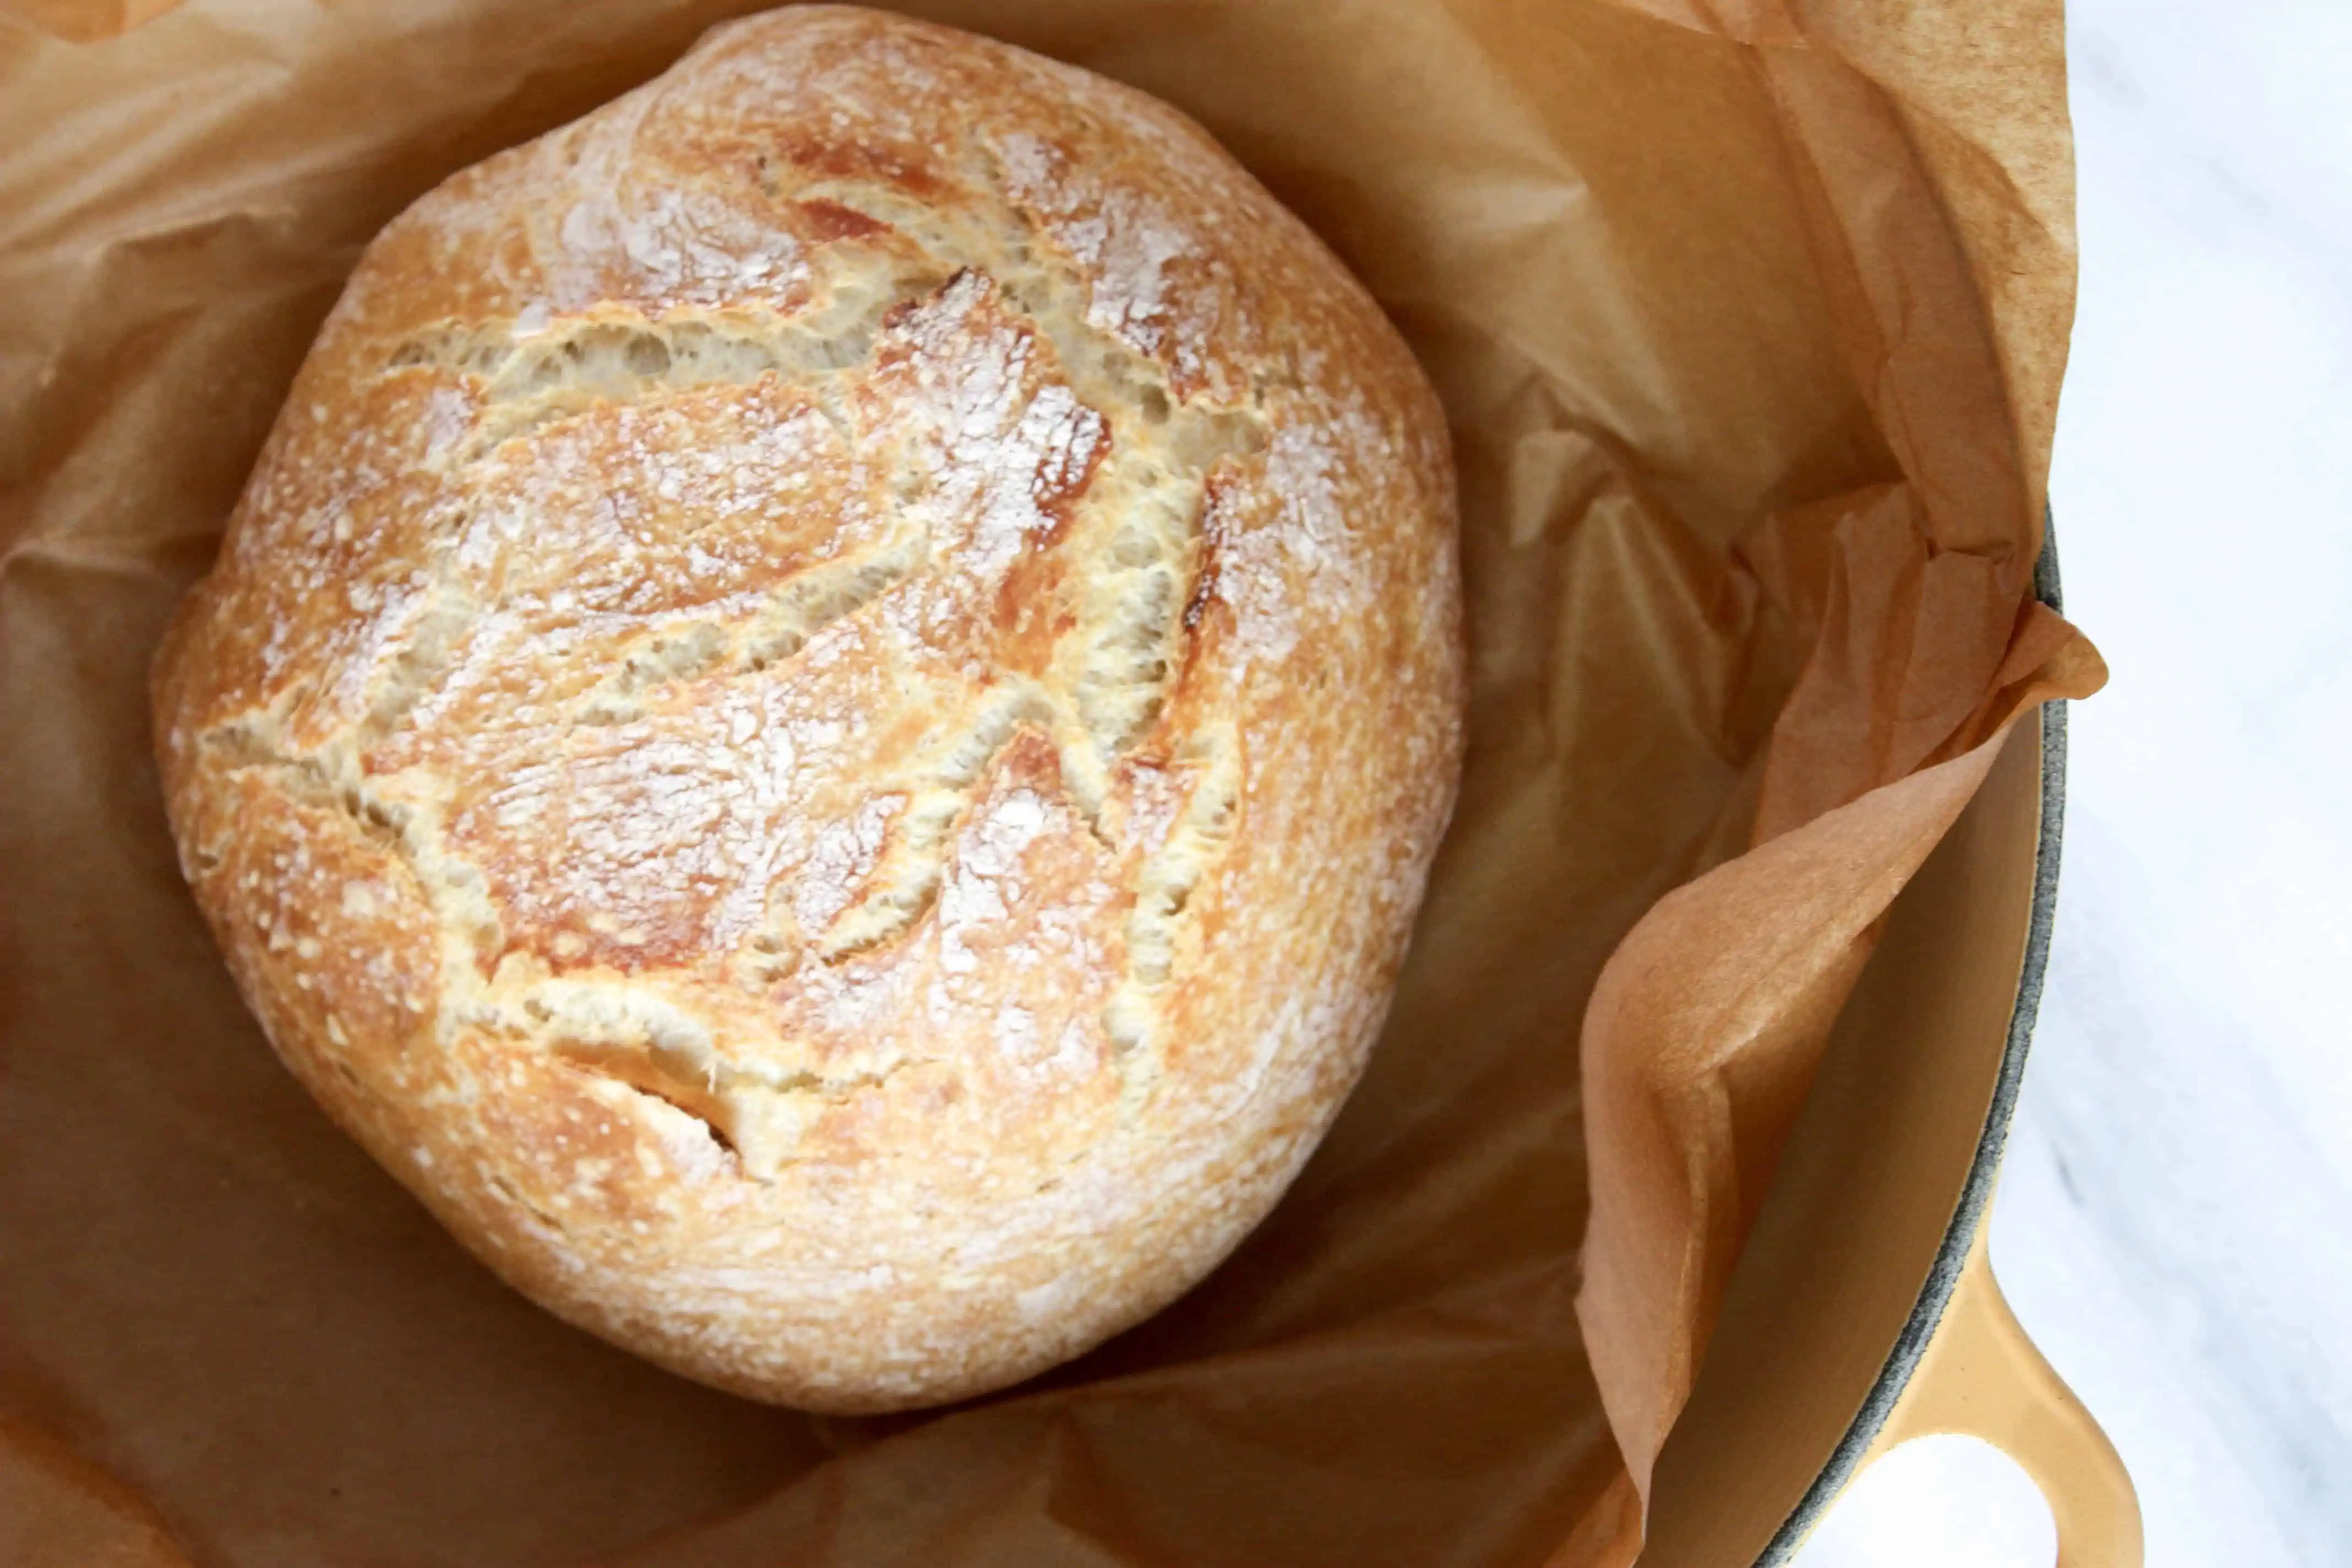
This bread is baked right in your dutch oven. I use this one from Le Creuset (and use it for almost everything), but any dutch oven works.
If you’ve never made your own bread, I promise you, you’ll be amazed with easy it really can be and how crazy delicious it is. For just a few dollars (if even), and the small amount of time it takes to mix all the ingredients together, you will have a loaf of bread that you can not stop eating.
I have been loving this recipe with all of my fall soups, with our family dinners, and even for just a little after school snack with my kids.
I hope you and your family love it, and bake it, just as much as we do.
Recipe:
No knead artisan bread
Instructions:
- In a large mixing bowl, add flour, salt and yeast. Whisk together.
- Next add the warm water. Using a wooden spoon, mix dough together until it pulls away from the sides, but is still "tacky". You may need to add a few more tbsp of water if the dough is too dry. Just add a few sprinkles at a time. You'll be amazed at how quickly it "comes together" with just a few drops of water. Don't add too much at once.
- Next cover the dough with plastic wrap and set out in a warm area on your counter (I like to keep mine in the oven - just don't forge it's in there and turn the oven on 😉
- Let the dough rise for 8-12 hours (or longer).
- When ready to bake, place dutch oven of your choice in the oven and turn the oven on to 450 degrees. Let the dutch oven heat up for 30 minutes or so.
- Meanwhile, prepare the dough.
- On a lightly floured surface, scoop out and place your risen dough. Using a little bit of flour to help you, shape your dough into a "ball" (it doesn't have to be perfect, don't overwork the dough).
- Set the dough on a large piece of parchment paper
- Remove your dutch oven from the preheated oven (carefully) and place your dough (along with the parchment paper) in the dutch oven
- Close the lid and place back in the oven for about 30 minutes
- Then remove the lid from the dutch oven and continue to cook for another 15-20 minutes, or until your bread is golden brown.
- Carefully remove the dutch oven from the oven. Use the parchment paper to help you lift the bread out of the dutch oven.
- Allow the bread to cool for about 20-30 minutes before enjoying!

Recipe:
No knead artisan bread
Instructions:
- In a large mixing bowl, add flour, salt and yeast. Whisk together.
- Next add the warm water. Using a wooden spoon, mix dough together until it pulls away from the sides, but is still "tacky". You may need to add a few more tbsp of water if the dough is too dry. Just add a few sprinkles at a time. You'll be amazed at how quickly it "comes together" with just a few drops of water. Don't add too much at once.
- Next cover the dough with plastic wrap and set out in a warm area on your counter (I like to keep mine in the oven - just don't forge it's in there and turn the oven on ;)
- Let the dough rise for 8-12 hours (or longer).
- When ready to bake, place dutch oven of your choice in the oven and turn the oven on to 450 degrees. Let the dutch oven heat up for 30 minutes or so.
- Meanwhile, prepare the dough.
- On a lightly floured surface, scoop out and place your risen dough. Using a little bit of flour to help you, shape your dough into a "ball" (it doesn't have to be perfect, don't overwork the dough).
- Set the dough on a large piece of parchment paper
- Remove your dutch oven from the preheated oven (carefully) and place your dough (along with the parchment paper) in the dutch oven
- Close the lid and place back in the oven for about 30 minutes
- Then remove the lid from the dutch oven and continue to cook for another 15-20 minutes, or until your bread is golden brown.
- Carefully remove the dutch oven from the oven. Use the parchment paper to help you lift the bread out of the dutch oven.
- Allow the bread to cool for about 20-30 minutes before enjoying!


LEAVE A COMMENT & RATE