


SUBSCRIBE
Get on the list and let’s become friends. Join our community of like minded women, and get all my latest recipes, finds and personal stories. I’m so happy you’re here.
Homemade chicken stock
Making quick, healthy and delicious meals is not as much about cooking ability as it is about being prepared. In the culinary world you are taught that your mise en place is gold. Being prepared with quality ingredients is the first part about creating delicious meals.
As a busy mom of four that means having my freezer and panty stocked with things that I use the most. One of the things that I reach for most is chicken stock. Whether it’s for a soup, sauce, or just cooking rice, I rely heavily on this golden liquid. So having it on hand in my freezer is so important for me.
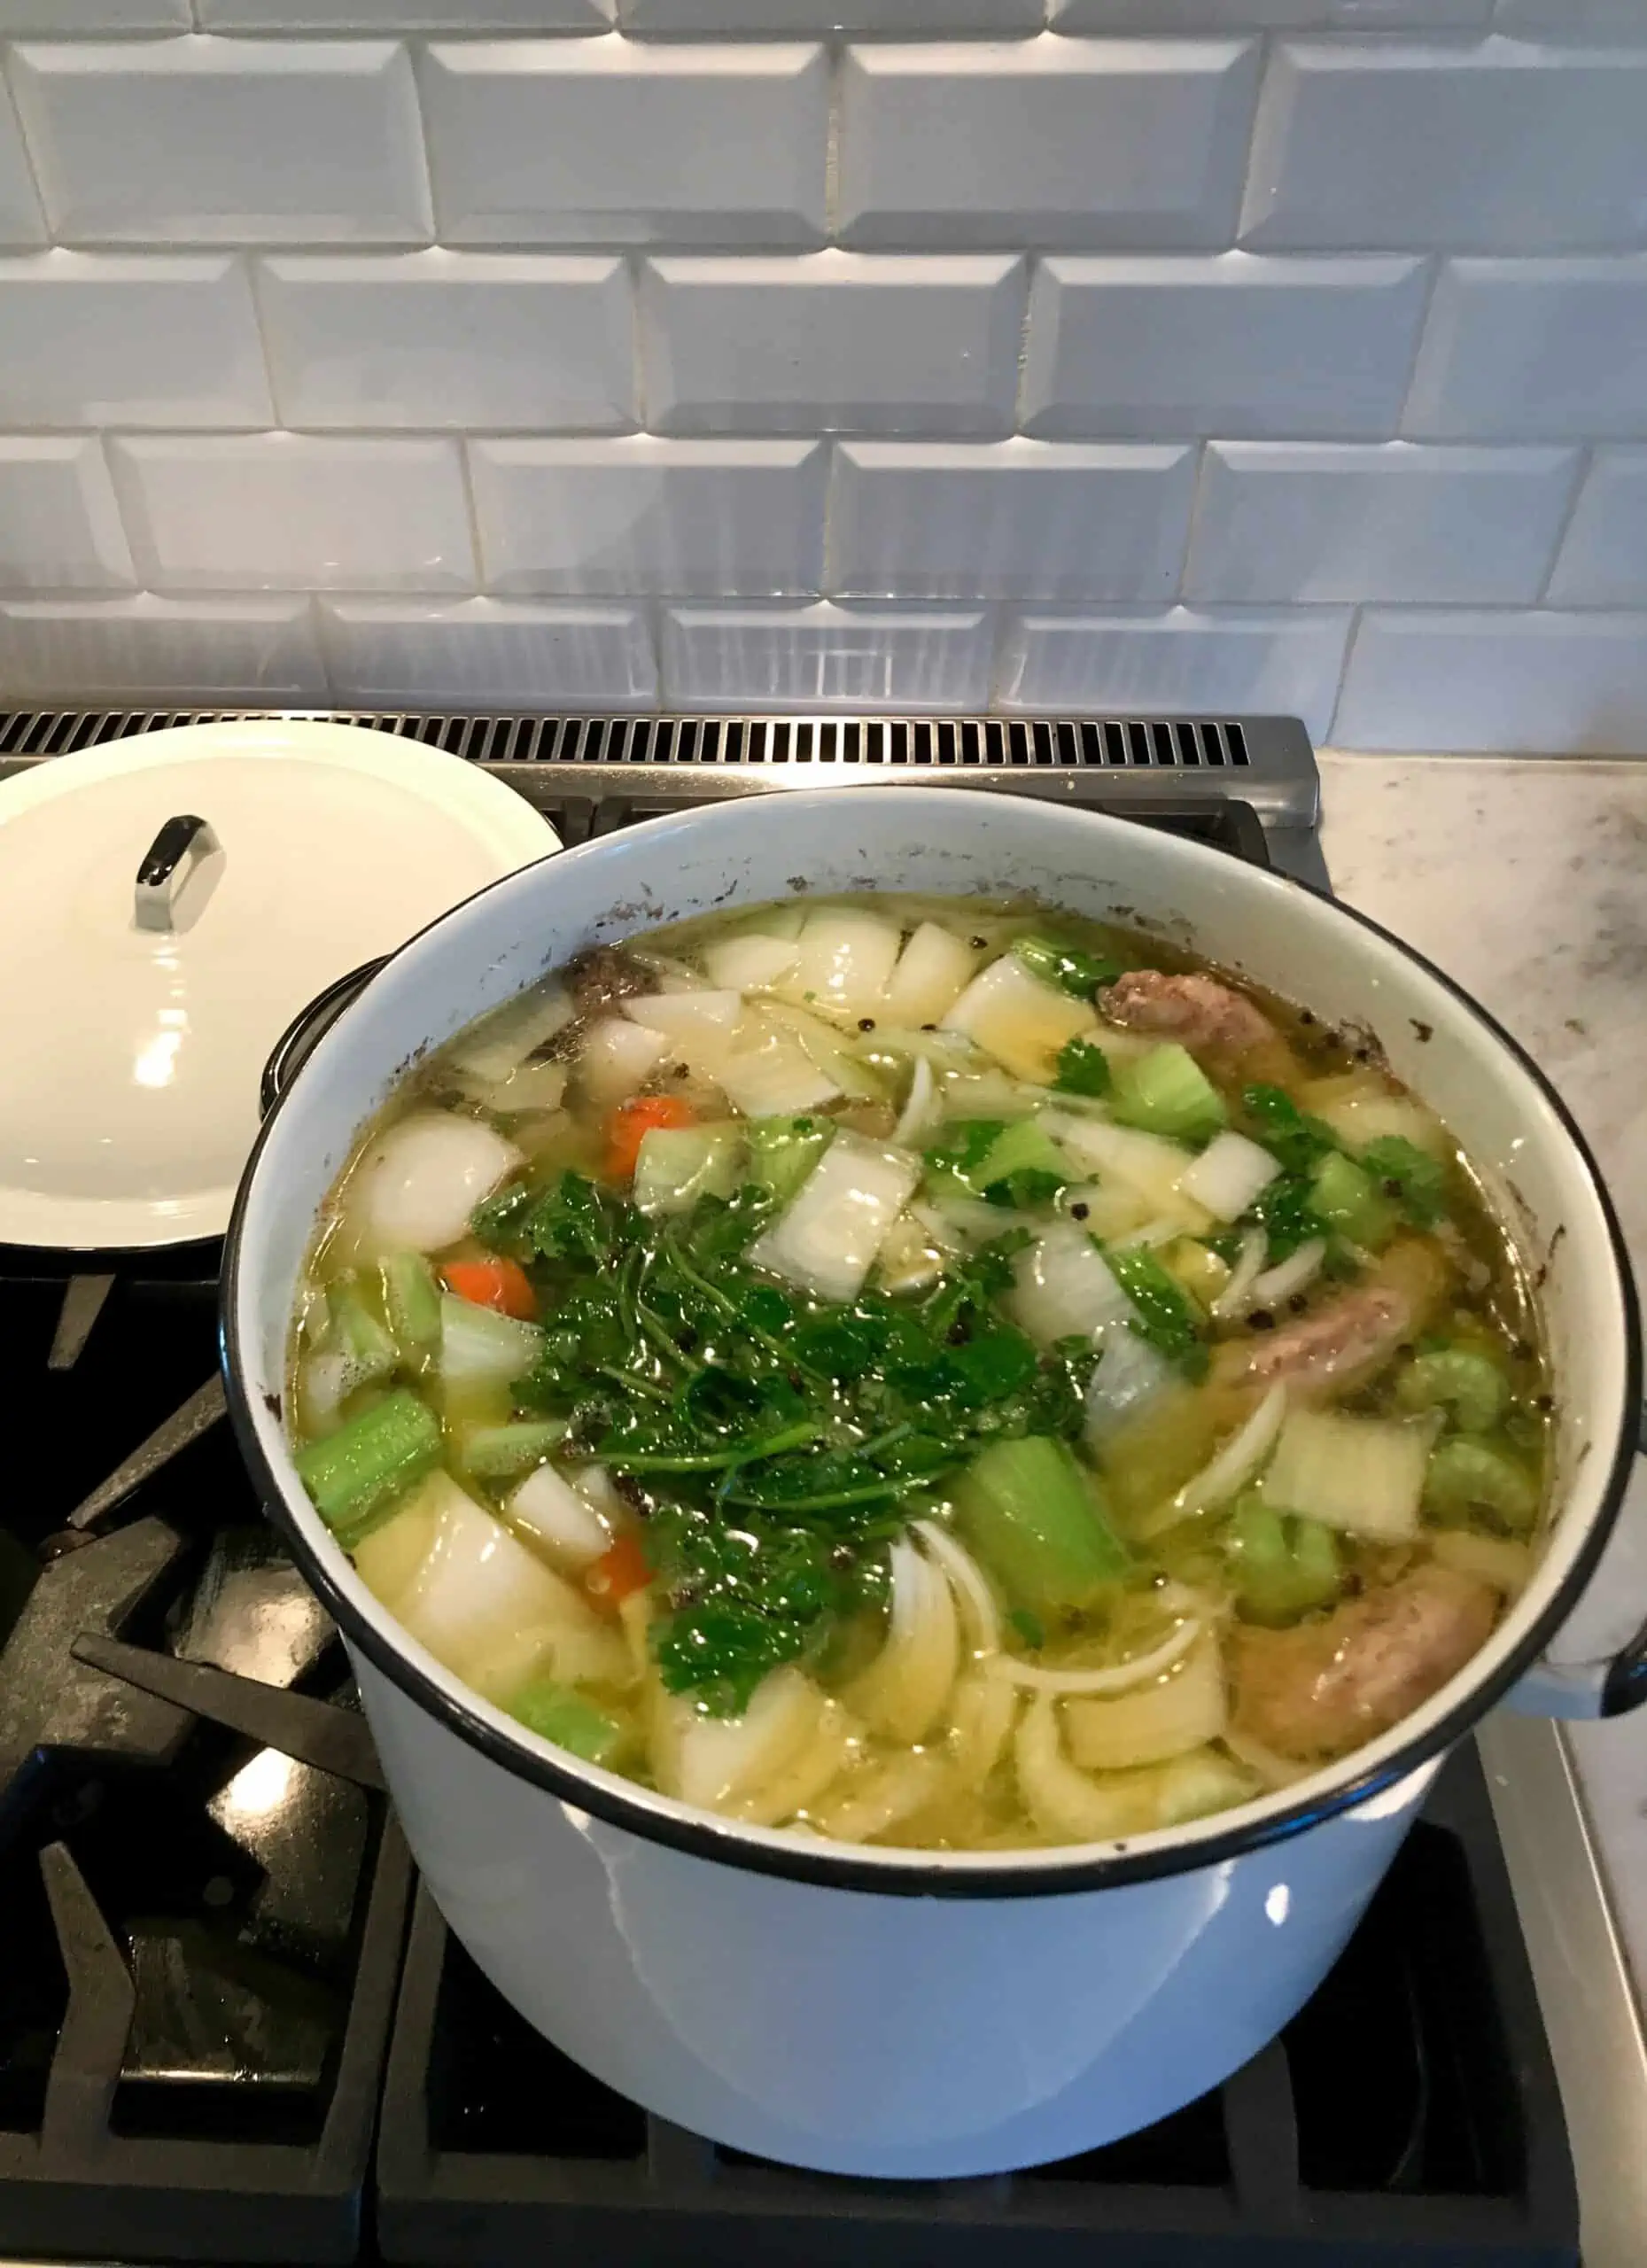
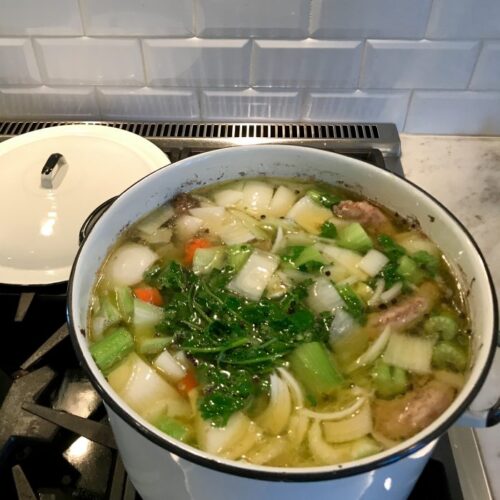
If you’ve never made your own stock, first let me say that it isn’t hard. However, it does take time. Luckily for you, it’s only your stove that is put to work. You fill the up a large pot in the morning, let it simmer all day, and then strain it at night. It’s not complicated. But the results are dramatically different than boxed chicken stock and absolutely worth the extra effort.
Not only is homemade chicken stock incredibly nutrient dense (it works wonders for colds/flus), but the flavor and mouthfeel is very different. Homemade chicken stock is typically very gelatinous. My stock usually has the texture of jello. I know that may sound a little strange, but the gelatin that’s released from the bones creates beautifully silky velvety soups and sauces.
I usually make stock in large batches. I try and make it every other Sunday (I go through a lot of stock) and freeze it. My go-to sizes are a quart and pint. I find that most recipes I make call for either a cup or two (for rice or a sauce), or a quart (if I’m making soup). So having the stock frozen in those individual sizes is really convenient. Plus I just like how the quart sizes fit so nicely in my freezer door.
The next time you’re home for an afterno
Recipe:
Homemade Chicken Stock
Instructions:
- Rinse chicken bones and place at the bottom of a very large pot (I use a 12 qrt. stock pot)
- Add enough cold water to the pot to generously cover the bones.
- Turn heat up to a simmer (do not boil), and let the bones simmer for an hour. The pot will need to be skimmed within the first hour. Using a large spoon, gently "scrape" the foam off of the top of the water.
- Once the bones have simmered for an hour, and the water has been skimmed, carefully add the other ingredients.
- Return the pot to a gentle simmer and allow to cook for 6-8 hours.
- Strain and divide stock into individual container for freezing

Recipe notes
- The bones will produce a type of “foam” that needs to be skimmed. Skimming the stock before adding your vegetables makes this much easier, which is why I like to do it after the first hour of the bones simmering. However you will need to continue to check your pot and make sure it doesn’t need to be skimmed. I keep a little bowl and spoon right next to the pot that I can use throughout the cooking process
- To strain the stock I like to first remove any larger pieces of bone/vegetables with a hand held strainer. This helps to minimize spills as I’m pouring the hot liquid through a chinois.
- Then I strain the entire pot (all the stock and remaining vegetables) through a chinois (which is just a type of large strainer) that’s lined with cheese cloth and inside a large food storage container (I use a large 8 qrt container – which as a side note is great for SO many things). From this larger container, I then divide the stock into smaller individual size portions to be frozen.
- You can also let your stock chill in the larger container.
- A layer of fat will from on top of your stock (regardless of what container it’s in). This is normal and will for sure happen. Once the stock is chilled, it’s very easy to scrape the layer of fat off. It usually comes off in a few pieces.
- It is NOT necessary, but there are times I like to do a second strain on my stock (If I’m trying to make a soup that I want to be really clear). To do this, just reheat your stock. Use a second piece of cheese cloth and strain again through a chinois. A second straining produces a really clear beautiful broth. Great for a consomme or matzo ball soup.
Recipe:
Homemade Chicken Stock
Instructions:
- Rinse chicken bones and place at the bottom of a very large pot (I use a 12 qrt. stock pot)
- Add enough cold water to the pot to generously cover the bones.
- Turn heat up to a simmer (do not boil), and let the bones simmer for an hour. The pot will need to be skimmed within the first hour. Using a large spoon, gently "scrape" the foam off of the top of the water.
- Once the bones have simmered for an hour, and the water has been skimmed, carefully add the other ingredients.
- Return the pot to a gentle simmer and allow to cook for 6-8 hours.
- Strain and divide stock into individual container for freezing

LEAVE A COMMENT & RATE